As our most rugged travel trailer, the Airstream Basecamp is perfect for adventurers who love to head off the beaten path. We purposely designed Basecamp to be lightweight enough to be towed by SUVs, yet even this small footprint is packed with amenities like a bathroom, kitchen, climate control, gear storage, sleeping space, and much more.
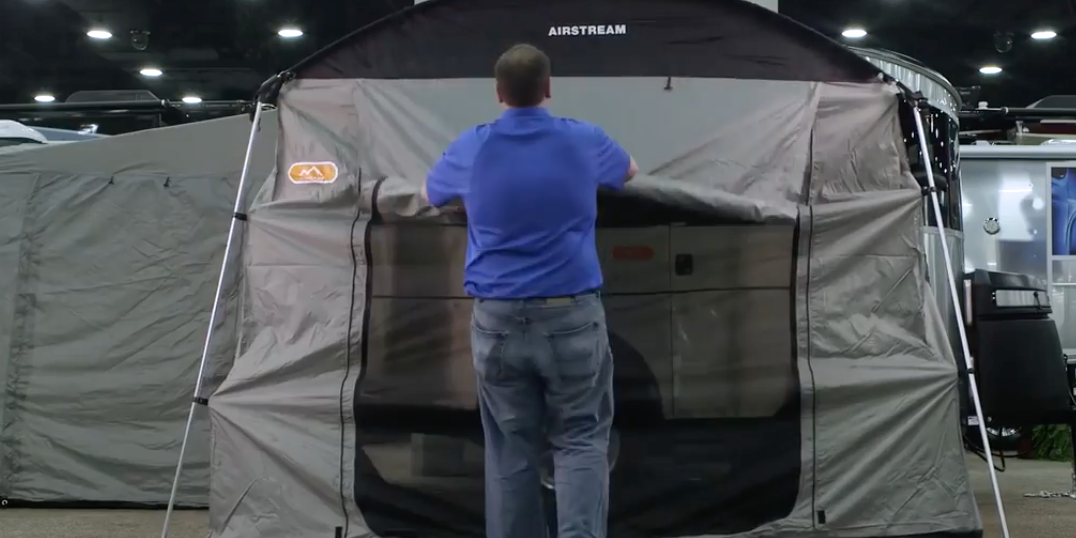
We’ve also helped design two attachable Basecamp tents that give you extra room to spread out in the shade, attaching right to the rear hatch and side entry door of the Basecamp. Use that space for lounging, sleeping, eating, or as a place to keep your bikes and gear out of the weather.
In this post, we’ll give you step-by-step instructions on how to install each tent, as well as tips for making your tent experience great. Read on, or scroll to watch the video version.
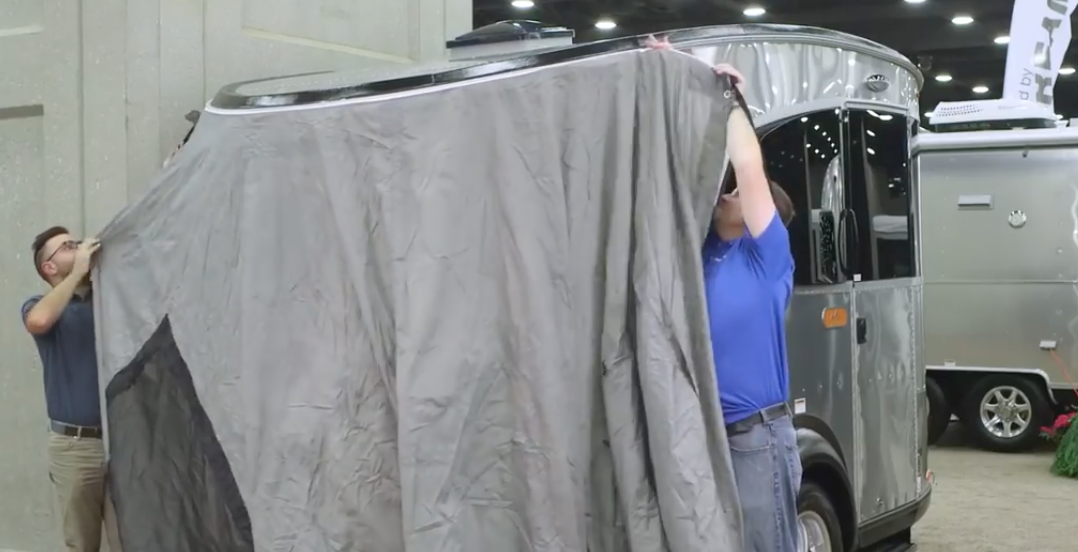
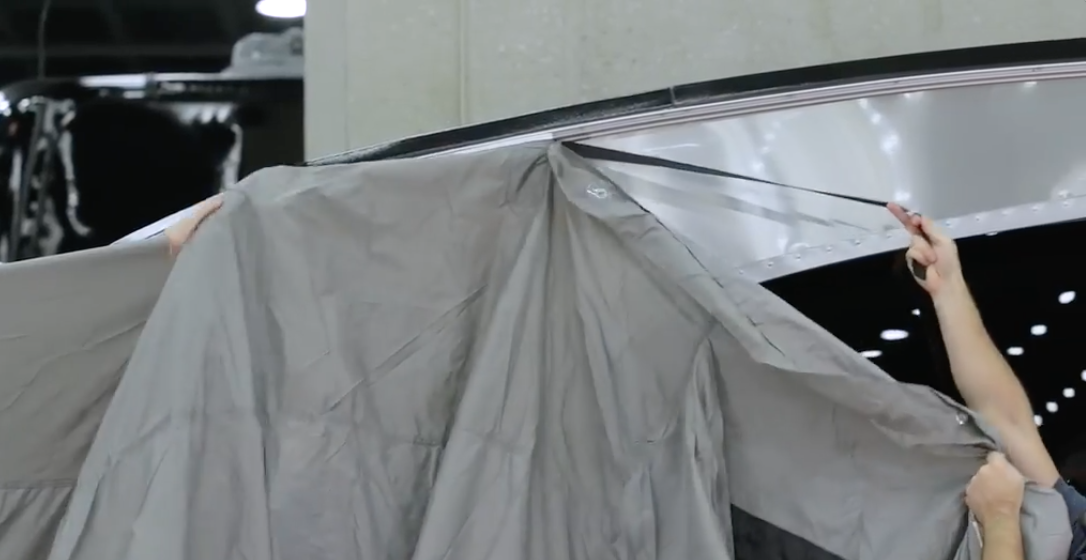
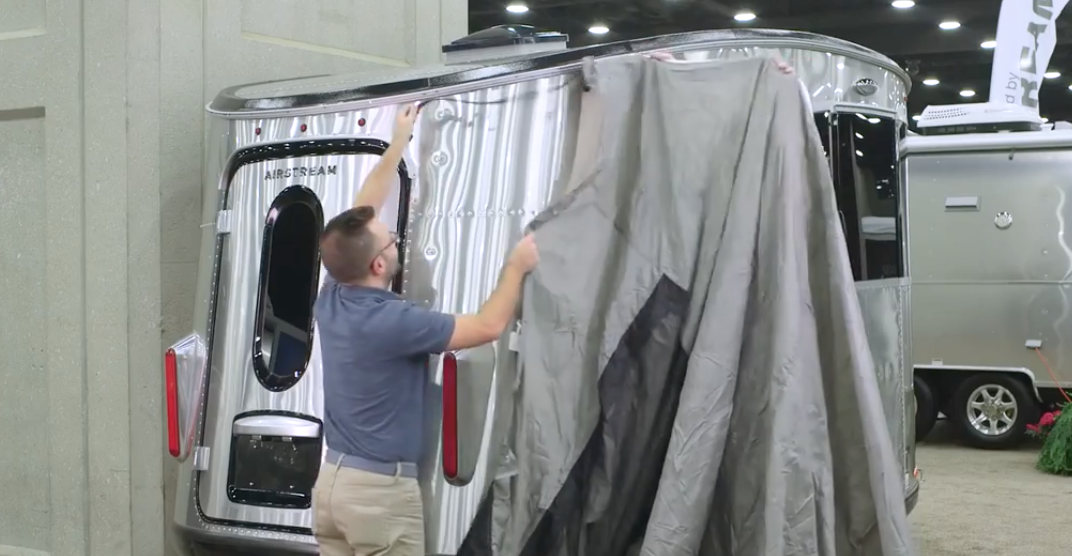 One person should insert the tent into the roof track and pull it toward the rear door of the Basecamp, while the other person holds the tent upright and guides it along.
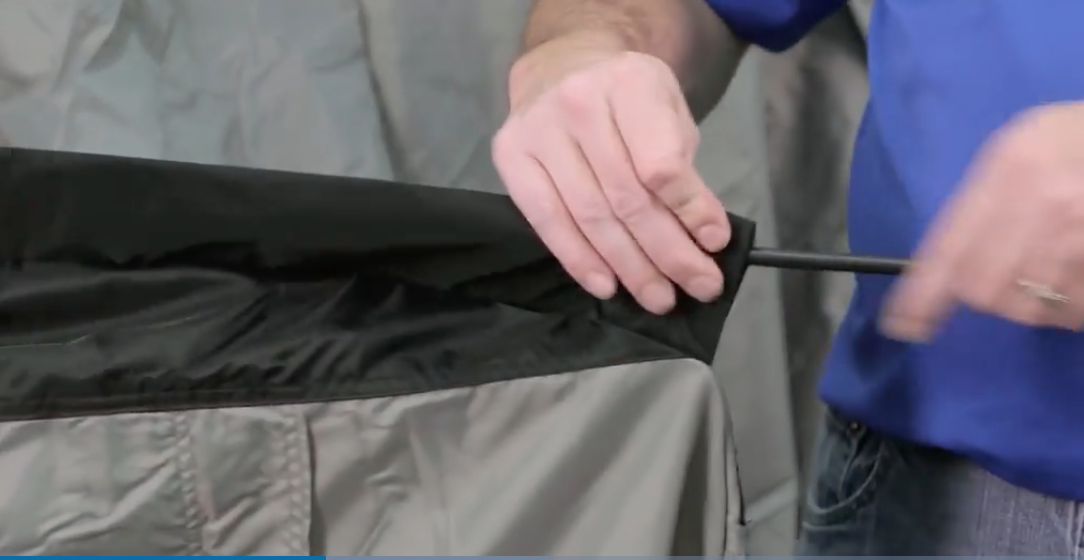 Insert each end of the pole into the smaller side of the support cap on either side of the tent, attached via a strap. The larger side of the support cap will be used for the side poles.
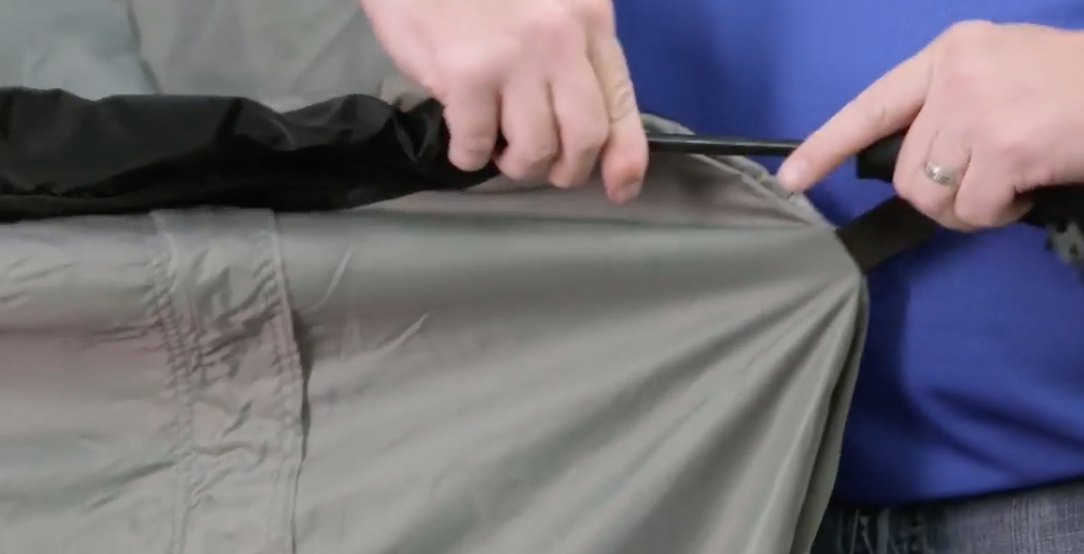
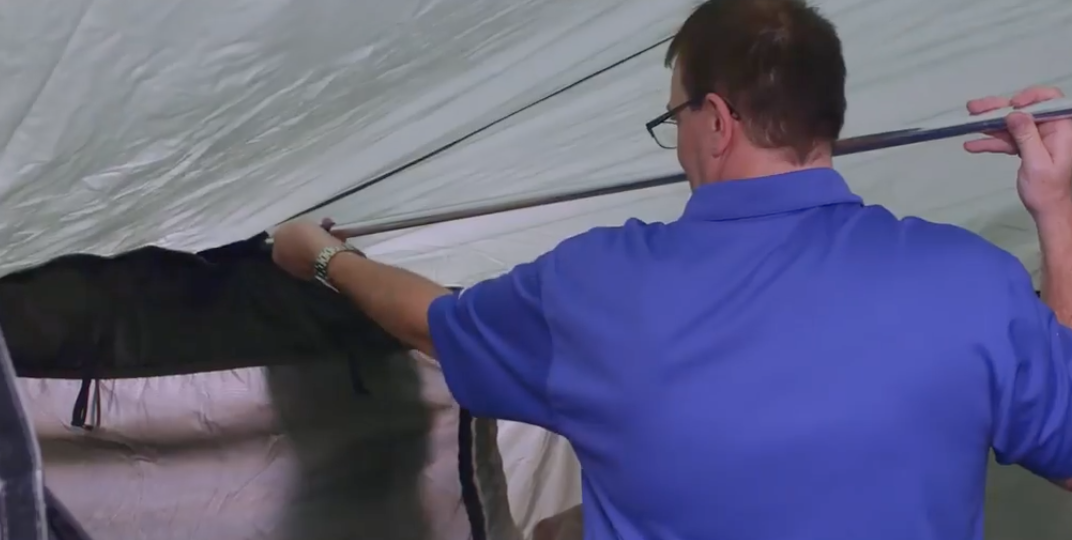
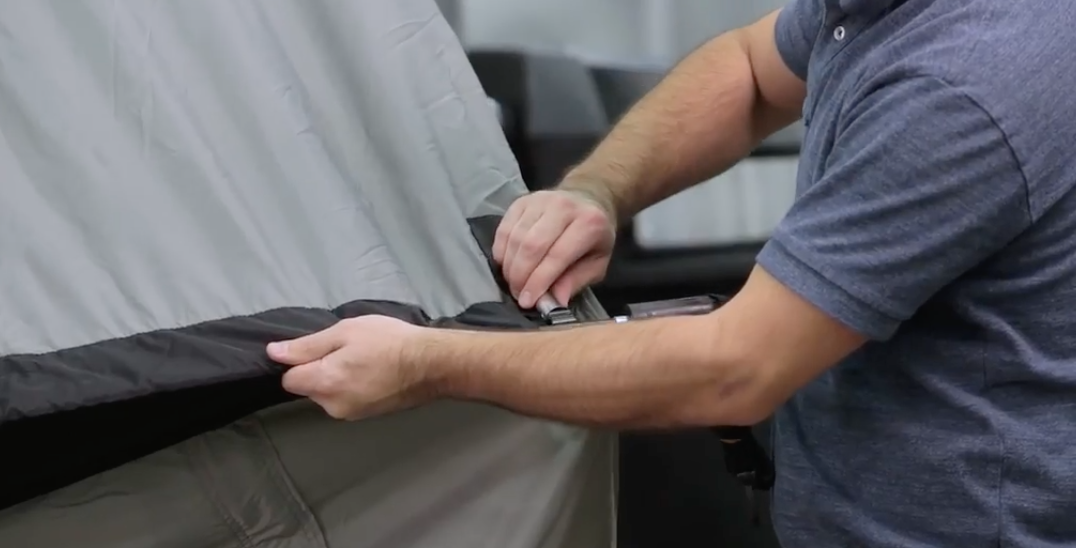 Once the roof pole is secured to the fiberglass pole, insert the other end into the pocket above the Basecamp’s rear hatch.
 Repeat for the other two roof poles, installing them on the inside corners of the tent’s roof. This creates a solid roof structure for your tent.
 Extend the side pole to the ground and insert the end into the eyelet on the attached strap.
 Use the attached clips to secure the side pole to the wall of the tent.
 Repeat with the other side pole.
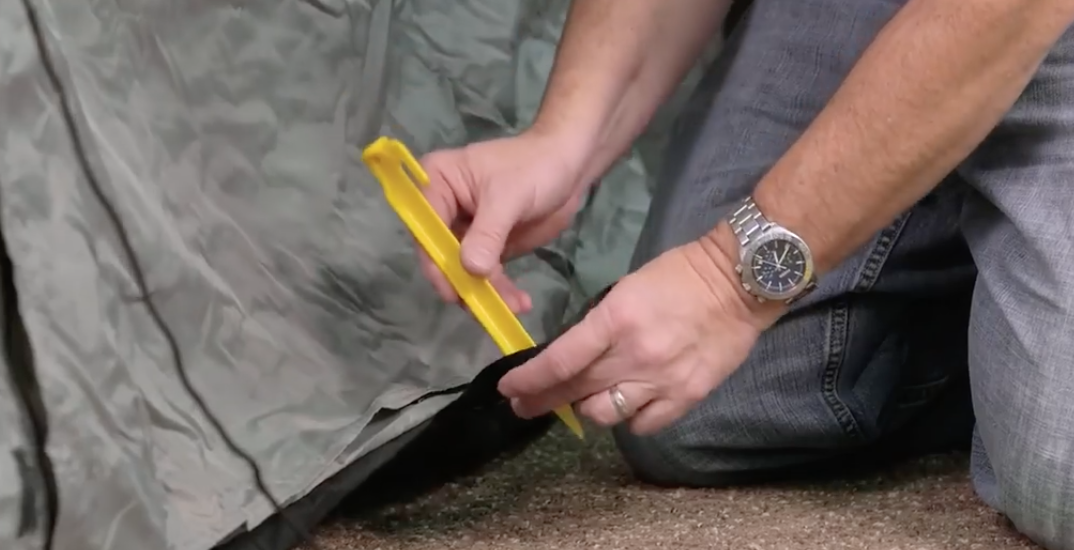 Use the provided cording to secure the tent to the hook in each stake.
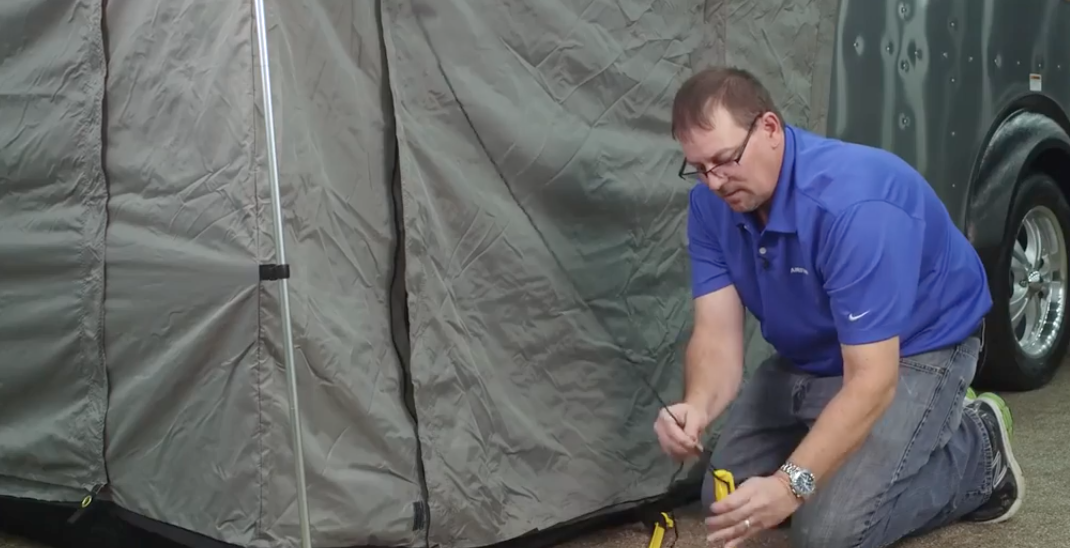 Repeat for all eight stakes.
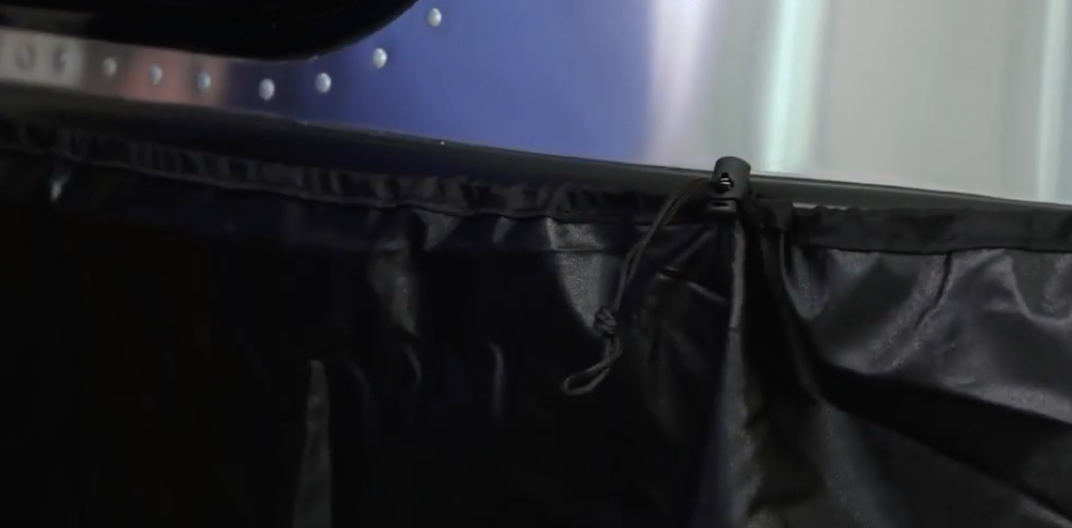
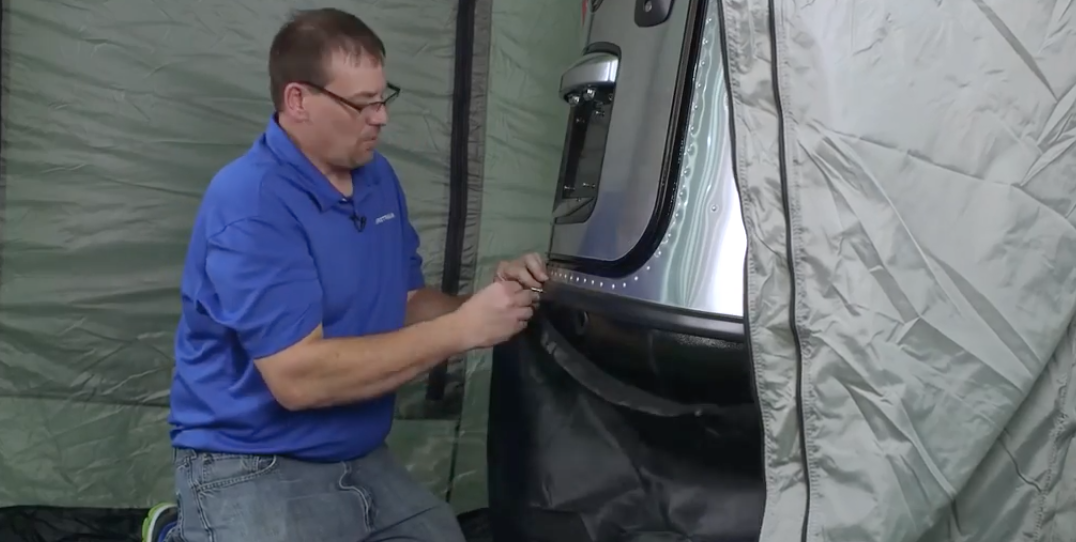 Bring the skirt up against the Basecamp just below the rear hatch door. Attach the eyelet in the center over the fastener on the Basecamp. Twist to lock it into place.
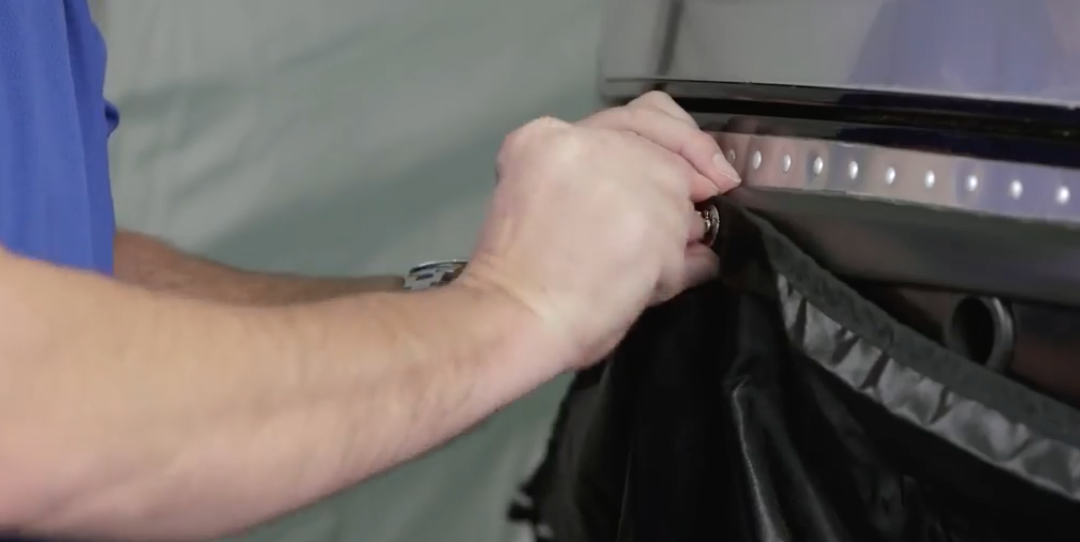 Repeat with one more eyelet and fastener on either side of the hatch. Tighten the drawstrings on the skirt.
 Be careful not the cover the vent on the driver’s side of the Basecamp.
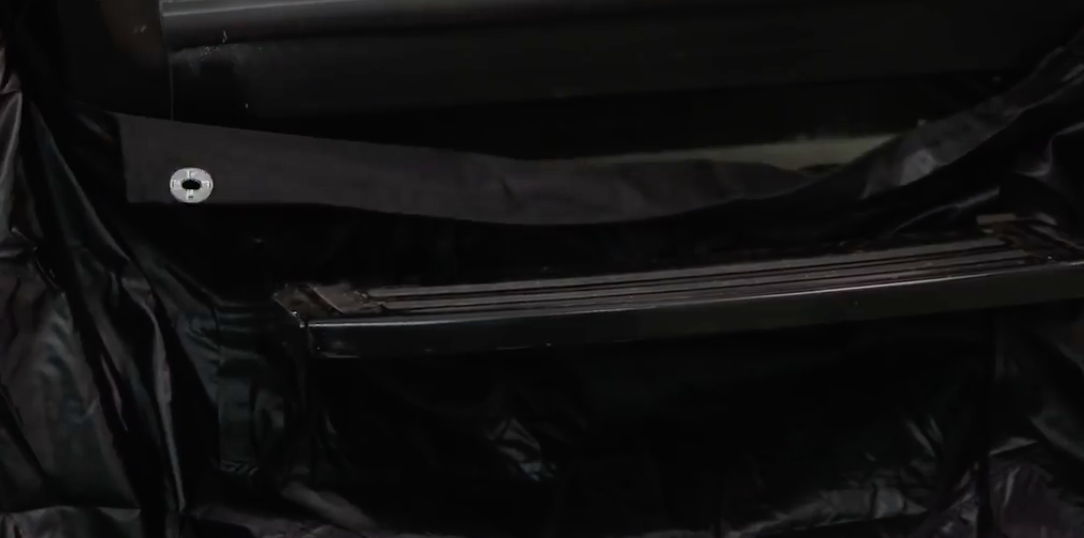
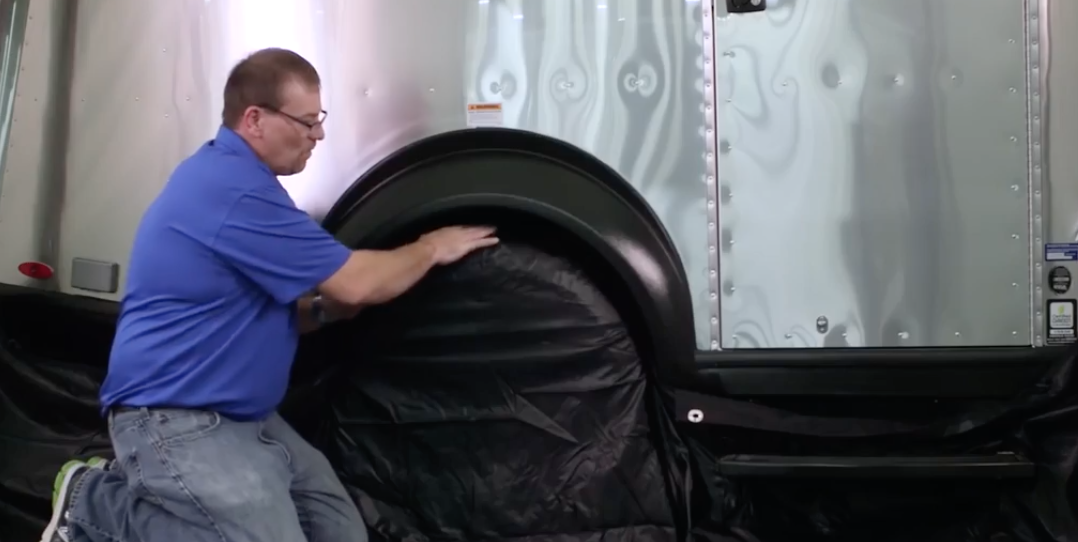 Feed the entry step through the skirt’s Velcro pocket so the step is still exposed and usable.
Prep: A quick visit to your dealer
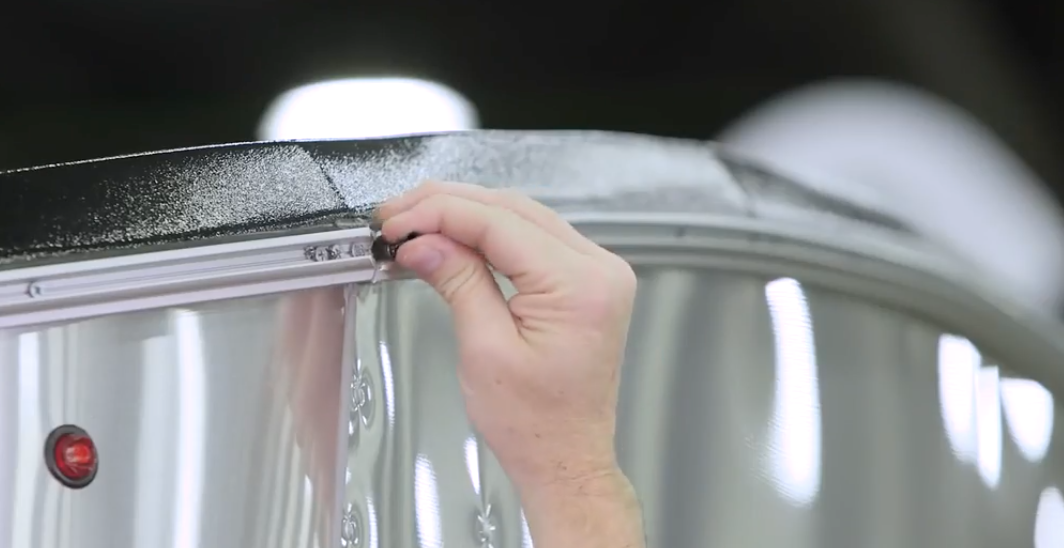
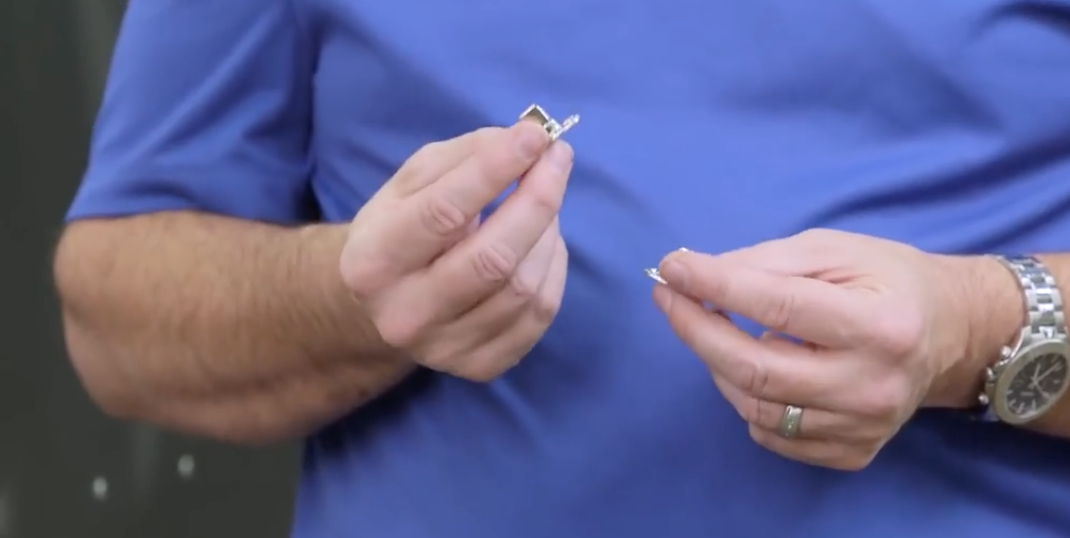
After you purchase your rear and side tents, your Airstream dealer has two steps to prep your Basecamp so you can use the tents. First, they’ll remove the protective insert from the track along the Basecamp’s roofline. Each tent will be inserted into this track. Next, they’ll install snaps along the lower rear and side portions of your Basecamp. Each tent will connect to these snaps. Schedule a quick visit to get these two steps done before you’re ready to hit the road.
How to install the rear tent
Step 1: Unpack the rear tent
You should always set up the rear tent first, then the side tent. The rear tent comes in two bags: one that includes the tent itself, and one that includes:- A fiberglass pole
- Three roof poles
- Two side poles
- Drawstrings for the stakes
- A set of instructions
Step 2: Insert the tent into the roof track
One person should insert the tent into the roof track and pull it toward the rear door of the Basecamp, while the other person holds the tent upright and guides it along.
Step 3: Feed the fiberglass pole through
With one person on each side of the tent, feed the fiberglass tent pole into the hole in the black section of the tent.
Insert each end of the pole into the smaller side of the support cap on either side of the tent, attached via a strap. The larger side of the support cap will be used for the side poles.
Step 4: Install the roof poles
With one person on the outside of the tent holding it in place, the other person should go inside the tent to install the roof poles. Start with the center pole. Guide it through the pocket hole in the black section where you just installed the fiberglass pole. The person on the outside of the tent can then clip the roof pole to the fiberglass pole so it’s secure.
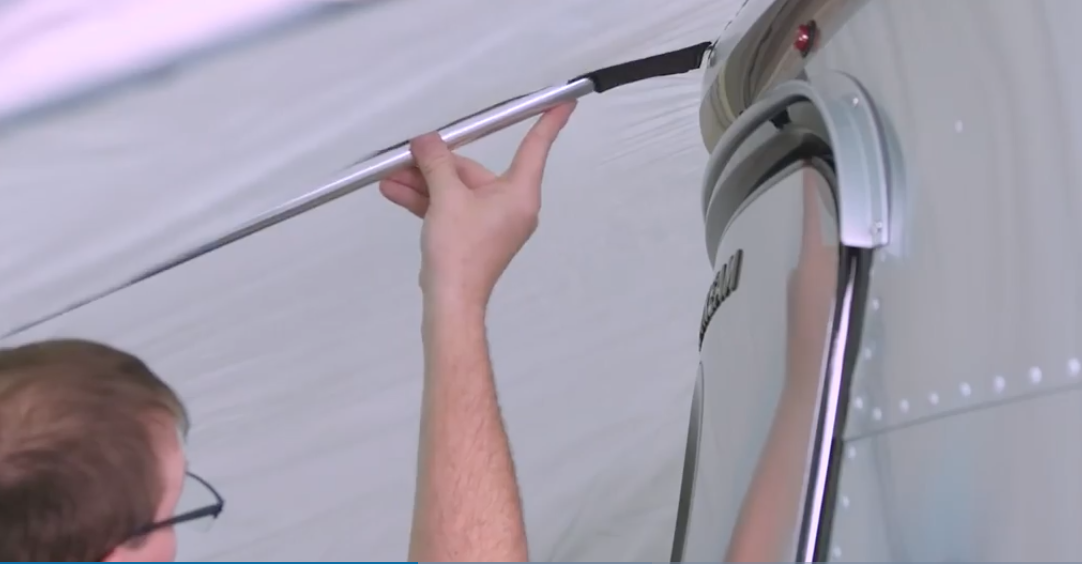
Once the roof pole is secured to the fiberglass pole, insert the other end into the pocket above the Basecamp’s rear hatch.
Repeat for the other two roof poles, installing them on the inside corners of the tent’s roof. This creates a solid roof structure for your tent.
Step 5: Install the side poles
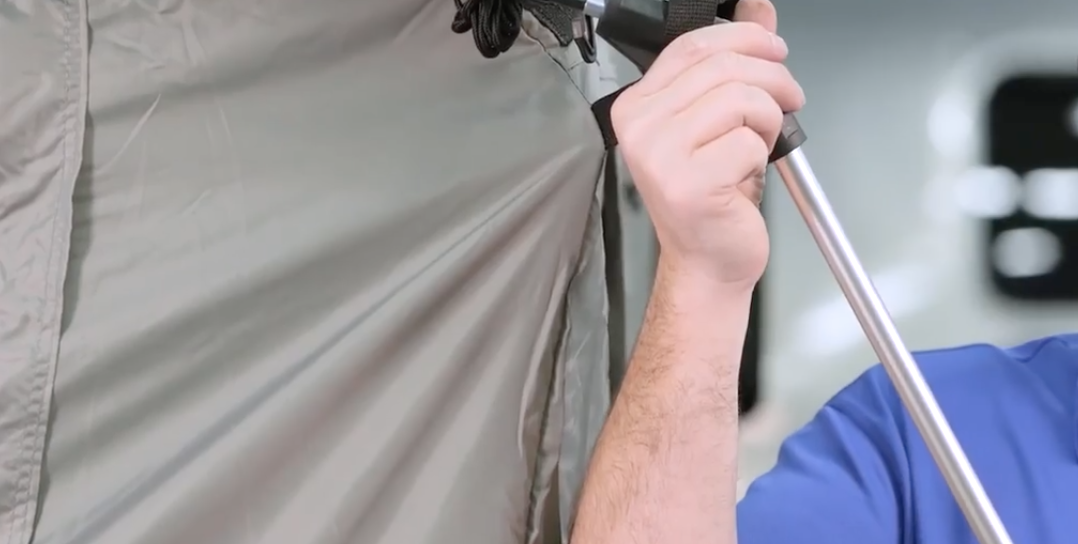
Back outside the tent, take a side pole and insert it into the support cap’s larger opening.
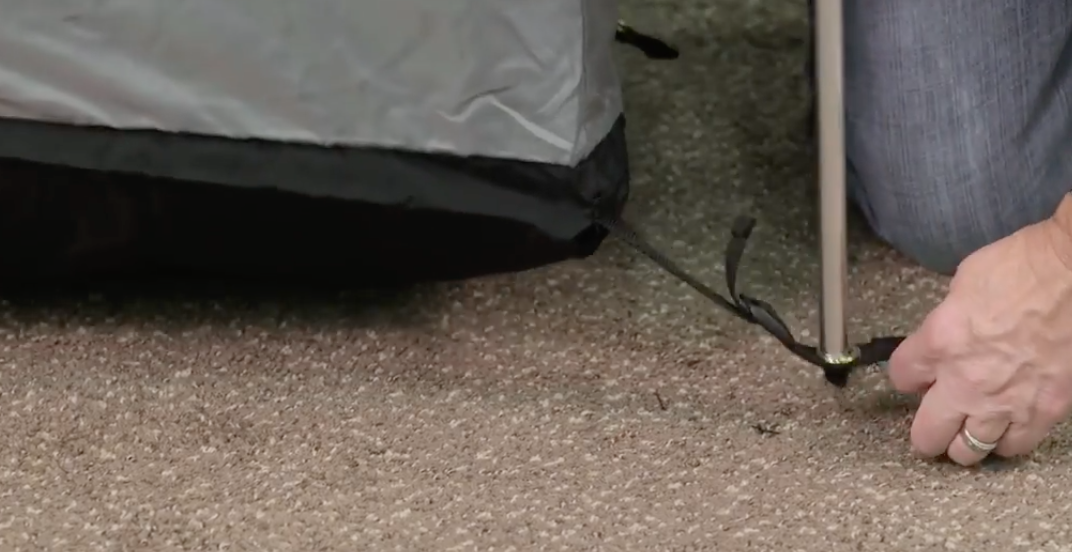
Extend the side pole to the ground and insert the end into the eyelet on the attached strap.
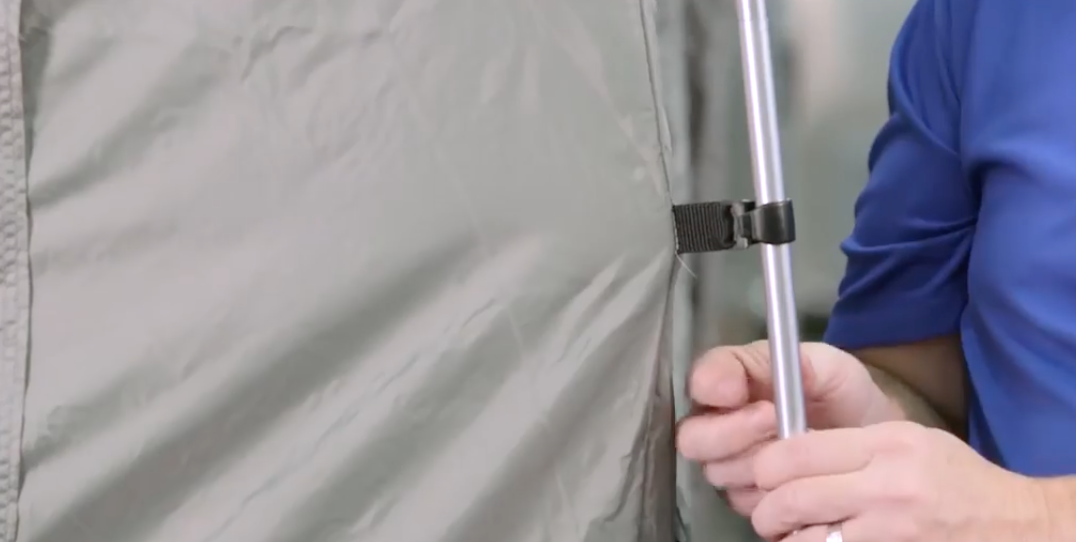
Use the attached clips to secure the side pole to the wall of the tent.
Repeat with the other side pole.
Step 6: Install the ground stakes
Insert one stake through one of the attached stake straps at the bottom of the tent, passing the stake through the strap and into the ground. Hammer the stake into the ground.
Use the provided cording to secure the tent to the hook in each stake.
Repeat for all eight stakes.
Step 7: Install the tent skirt
Each tent includes a black “skirt,” which extends from the floor of the tent up and around the Basecamp itself to keep your tent enclosed and provide protection from bugs, weather, and animals.
Bring the skirt up against the Basecamp just below the rear hatch door. Attach the eyelet in the center over the fastener on the Basecamp. Twist to lock it into place.
Repeat with one more eyelet and fastener on either side of the hatch. Tighten the drawstrings on the skirt.
Step 8: Secure the tent walls to the Basecamp’s exterior
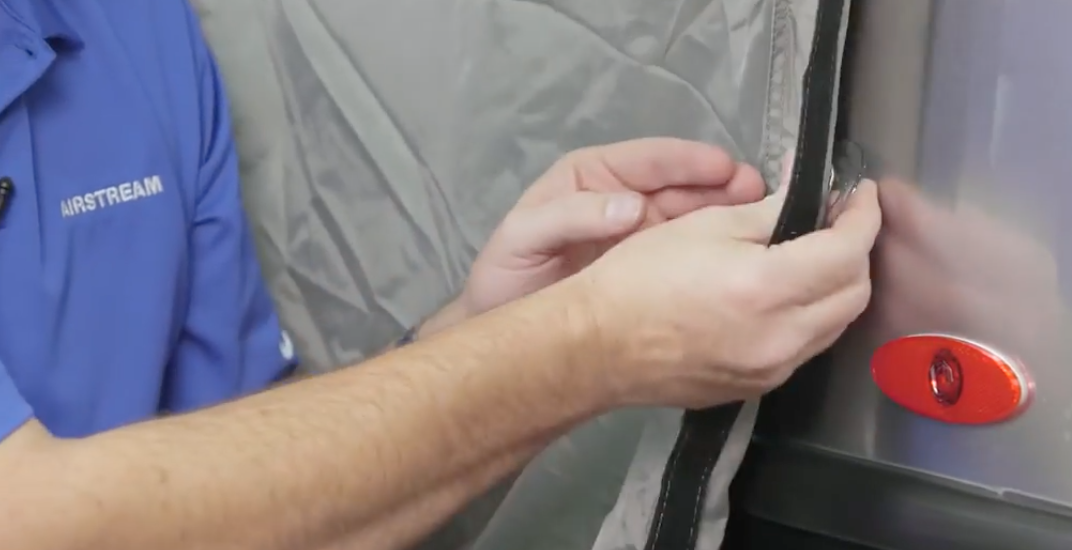
Each tent includes built-in suction cups so you can secure the tent walls to the exterior walls of the Basecamp without damaging the surface. Align each suction cup and press toward the Basecamp until the suction cup sticks.
Be careful not the cover the vent on the driver’s side of the Basecamp.
Step 9: Install the undercarriage straps
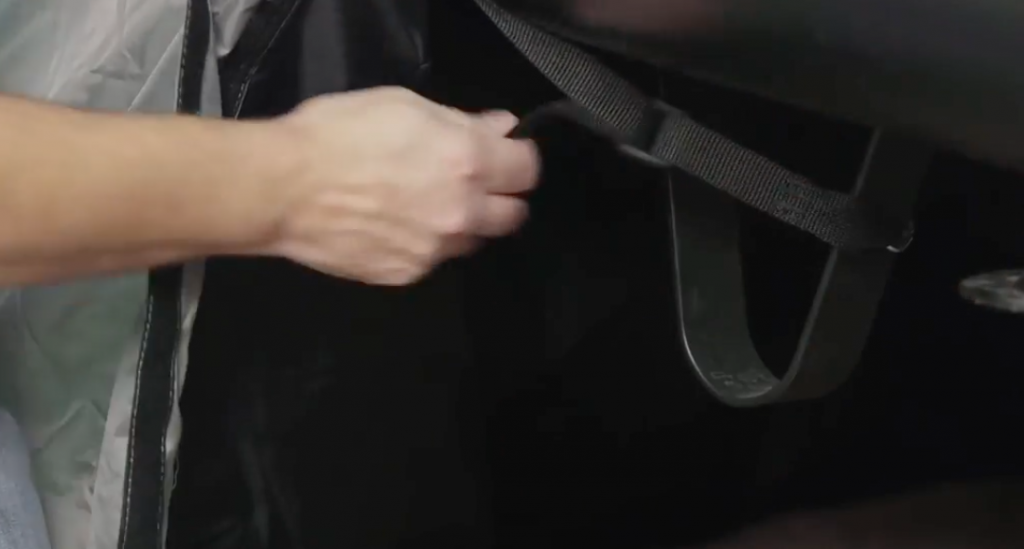
Each side of the rear tent includes a strap that attaches to the skid plates. Loop each strap around the corresponding skid plate and tighten so the fit is snug, being careful not to overtighten.
How to install the side tent
Step 1: Insert the tent into the roof track
Repeat Step 1 as you did with the rear tent, only pull it toward the side entrance of the Basecamp instead of toward the rear.
Steps 2-6: Install the poles and ground stakes as you did with the rear tent
Install the fiberglass pole, roof poles, and ground stakes as you did with the rear tent, aligning the roof poles with the Basecamp’s side door this time.Step 7: Install the skirt
The side tent’s skirt includes a cover for the tire and a pocket for the entry step. Secure the skirt up and around the sides of the tire.
Feed the entry step through the skirt’s Velcro pocket so the step is still exposed and usable.
Enjoy your tents with or without screens
Both tents include openings on three sides, each with a screen layer you can leave down to let a breeze through and keep bugs out. Simply unzip the layers you want to open, roll them upward, and secure them to the top of the tent via the attached straps.
Tips for the best experience with your tents
- Whenever possible, avoid setting up your tents on very rocky ground. Rocks can damage the tent fabric and make it hard to achieve a level surface.
- You should also avoid setting up your tents in a low area where water can pool underneath or around the tent.
- Always allow your tents to dry completely before disassembling, packing, and storing them.
Prefer a video walkthrough?
All of these steps are included in the video below, so you can see how the process works with even more context.
[brightcove_embed id="6053187122001"]
Ready to add tents to your Basecamp?
Start by contacting your Airstream dealer to purchase your tents and prep your Basecamp for installation.