If you’re itching to hit the road in your Sprinter Van RV, we promise a pre-trip inspection won’t take long. And it could save you from dealing with unexpected issues while far away from home. Run through this easy series of checks to make sure everything is in working order and ready for a successful outing.
Do you know all of your RV’s measurements?

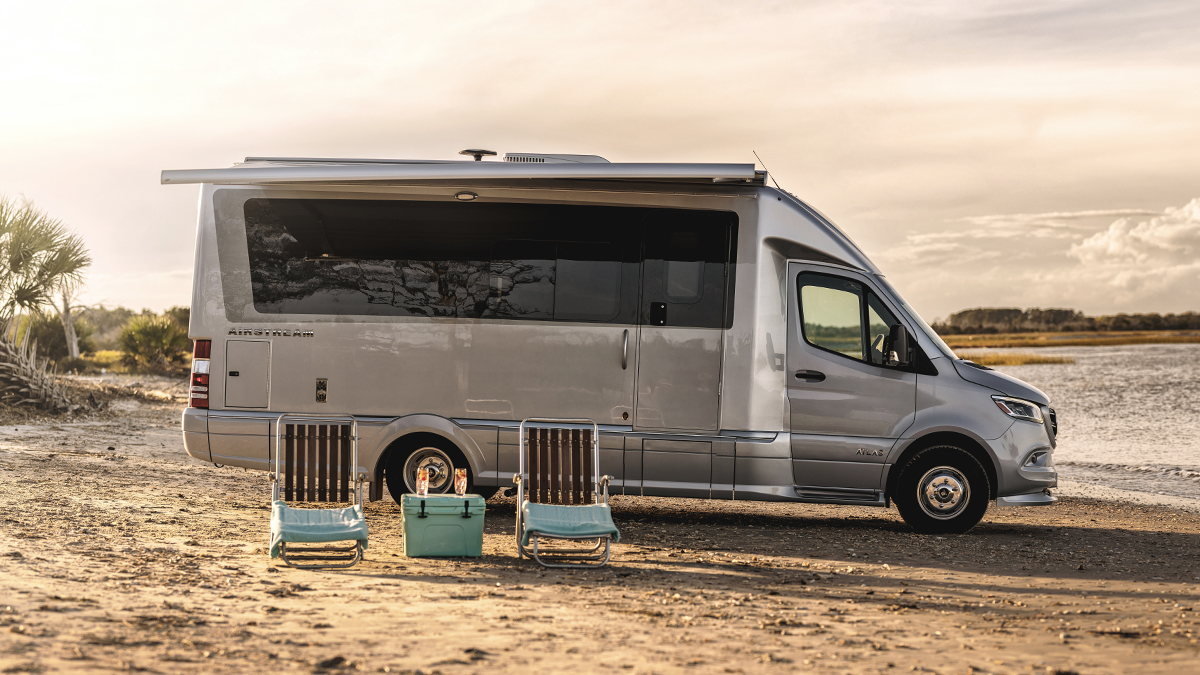
If it’s your first time driving an RV, you should get to know key measurements like length, width, and height. Length will help you assess whether you’ll fit in a standard parking spot (usually 19-20 feet long). Width will help you know when roads, camping spots, or crowded areas will be tight. And height tells you which bridges and parking garages you’ll be able to safely pass under and through. Pro tip: drive-thru overhangs are usually only 9 feet high, which means Sprinter vans are too tall to pass through.
You can look up your RV’s measurements (see below) or use a measuring tape to check the dimensions yourself.
And though it seems simple, one of the best ways to maintain your tires is to make sure they’re always filled to the right air pressure. Air pressure for your Airstream Sprinter Van touring coach tires is detailed in your owner’s manual, and here’s a handy guide.
- Interstate 19
Length: 19’ 5”
Width: 6’ 7”
Height: 9’ 8” with 2WD, 9’ 11” with 4WD
- Interstate 24GL
Length: 24’ 6”
Width: 6’ 7.7”
Height: 9’ 8” with 2WD, 9’ 11” with 4WD
- Interstate 24GT
Length: 24’ 6”
Width: 6’ 7.7”
Height: 9’ 8” with 2WD, 9’ 11” with 4WD
- Interstate Atlas
Length: 24’ 9”
Width: 8’ 3”
Height: 10’ 6”
Are you ready to tow?
Every Airstream touring coach built on the Sprinter Van chassis has a powerful 3.0L V6 Turbo Diesel engine capable of pulling up to 5,000 pounds. That means the motorhomes in this lineup can easily pull single-axle Airstream travel trailers. Talk about the ultimate camping experience. And if you’re interested in towing water or land toys that are a little smaller and lighter than a full travel trailer, we have the post for you: Towing Toys with an Airstream Touring Coach.
If you’ll be towing on your next trip, make it a part of your pre-trip inspection to check your RV’s hitch ball and power connection cable. You’ll want to make sure there’s no damage you might have missed before.
Is the engine clear and working properly?

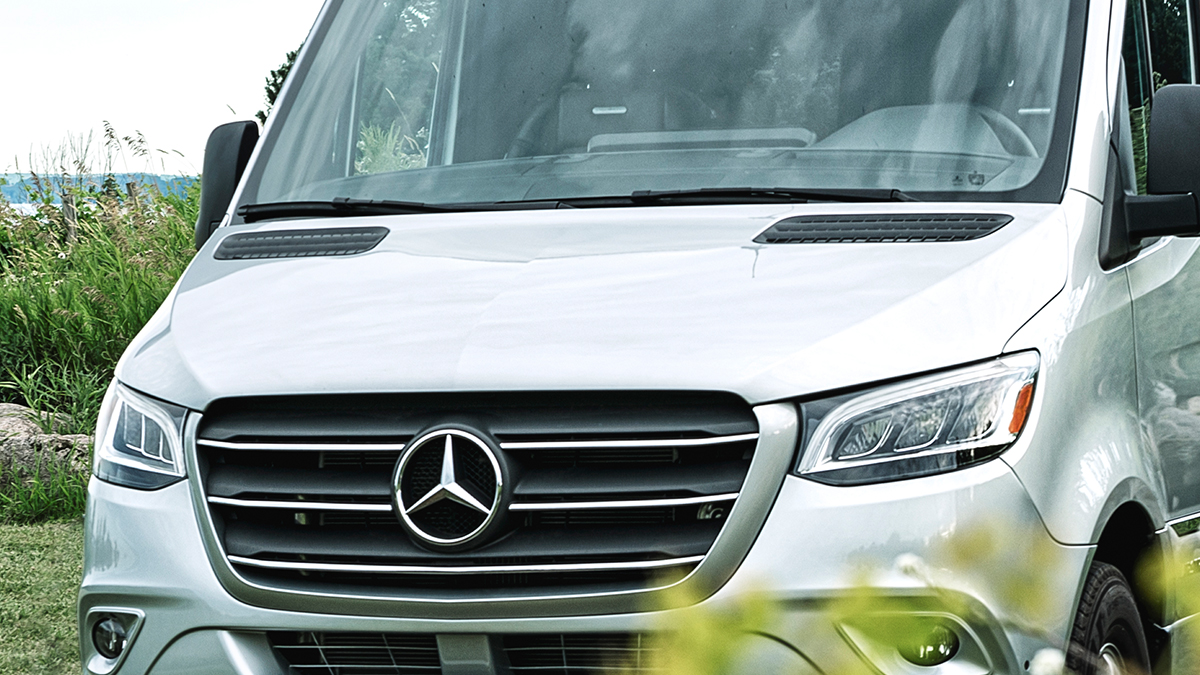
Before you start your RV up, open the hood and check for living things or debris that may have gathered on or near the engine. Clear debris off with an air compressor or a small brush.
Next, check your fluid levels:
- Hydraulic/power steering fluid
- Brake fluid
- Engine coolant
- Windshield wiper fluid
- Engine oil
Make sure engine belts are tight and undamaged, and check for leaks underneath your RV. Start your RV and listen for any unusual noises or signs of engine issues. Check the dash for service lights (check engine, change oil, low battery, etc.).
Are all of the lights working properly?

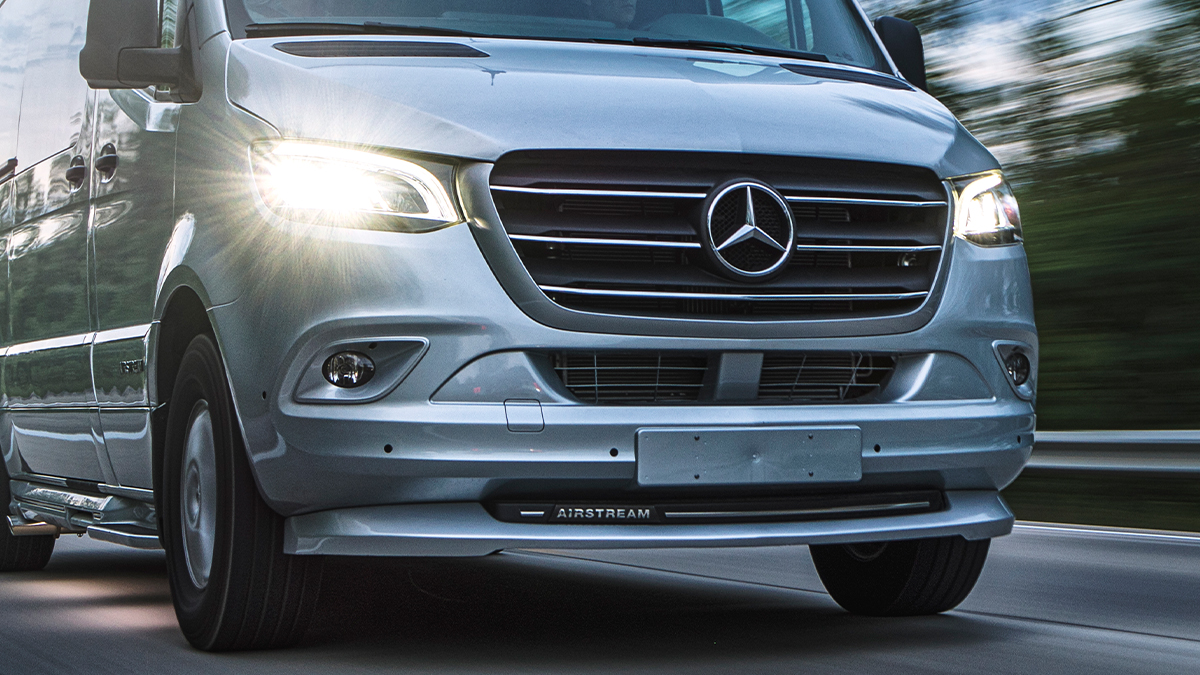
Grab a spotter friend and have them stand outside your touring coach while you start the engine and turn on the driving lights. Roll down the window and let your friend know which lights you’re turning on when, and have them confirm that they’re working.
Make sure you check:
- Front and rear headlights
- Front brights/hi-beams
- Front fog lights
- Emergency flashers
- Front and rear turn signals (left and right)
- Brake lights
- License plate lighting
If anything doesn’t come on as expected, make a service appointment before hitting the road.
Are your batteries charged?
Once you get to your destination, you’ll be ready to use your RV’s appliances, lights, TVs, and more. And they all require battery power. That’s why it’s important to do a pre-trip battery check.
Before touching the batteries, locate the main on/off power switch in your RV and make sure it’s in the off position. Then, open the battery storage compartment.
Use a wrench to remove the black cables from the negative terminals. Then, remove the red cables from the positive terminals. Check for corrosion on the batteries. If you find any, use an old toothbrush, hot water, and baking soda to clean it off.
Once your batteries are clean and dry, they’re safe to charge if they need it. You can charge a number of different ways:
- A converter into a power source (home outlet, generator, etc.)
- Battery charger device
Check your RV batteries’ instructions for how much to charge it and other requirements such as re-filling water compartments.
Are your tires full and free of wear?
If your RV has been in storage or parked in your driveway for a while, the tires could have naturally lost some of their air pressure. Remove the air caps on each tire and use a tire pressure gauge to measure the current psi against the manufacturer’s psi guidelines (in your manual). Fill any underinflated tires back up to the recommended psi and replace the air caps when you’re finished.
Then, take a look at each tire’s treads and check for wear along the tire walls. For more on tire maintenance, check out this post: Your Class B RV Tire Questions Answered.
Are your doors, windows, and entry steps working?
Check each door to make sure it opens, closes, locks, and unlocks without issue. Make sure entryway steps open and close properly (manually and/or automatically, depending on your RV). Do the same for both windows in the cockpit and all interior windows in the coach. Check your windshield for cracks and your wiper blades for wear and tear.
Did you find something that needs to be serviced?
If you discovered an engine issue or just have a question you’d like to ask an expert, give your Airstream dealer a call or schedule a service appointment at an Airstream Service Center.
Have some more touring coach driving questions? Check out this post: Touring Coach Driving and Parking FAQs Answered.


