You just brought home your new Airstream Travel Trailer or Touring Coach and it’s parked in your driveway just waiting for your first adventure. You start searching online, reading blogs, watching videos, and trying to make sense of the sometimes not-so-user-friendly world of campsite reservations. You call up a campground to check availability – they start talking about hookups and pull-throughs, back-in sites, and gray water disposal. You hang up the phone feeling completely overwhelmed.
If you’re new to the Airstream life – or to RV camping in general – and you’ve never booked a site and stayed in a campground for a weekend, have no fear. When it comes to your campsite reservations, booking your maiden voyage, and making the most of your first weekend out, it can feel overwhelming.
But a few simple tips and advice from those who’ve done it before will put you at ease as you set off on your first Airstream trip.

What to Expect When You’re Expecting a Camping Trip
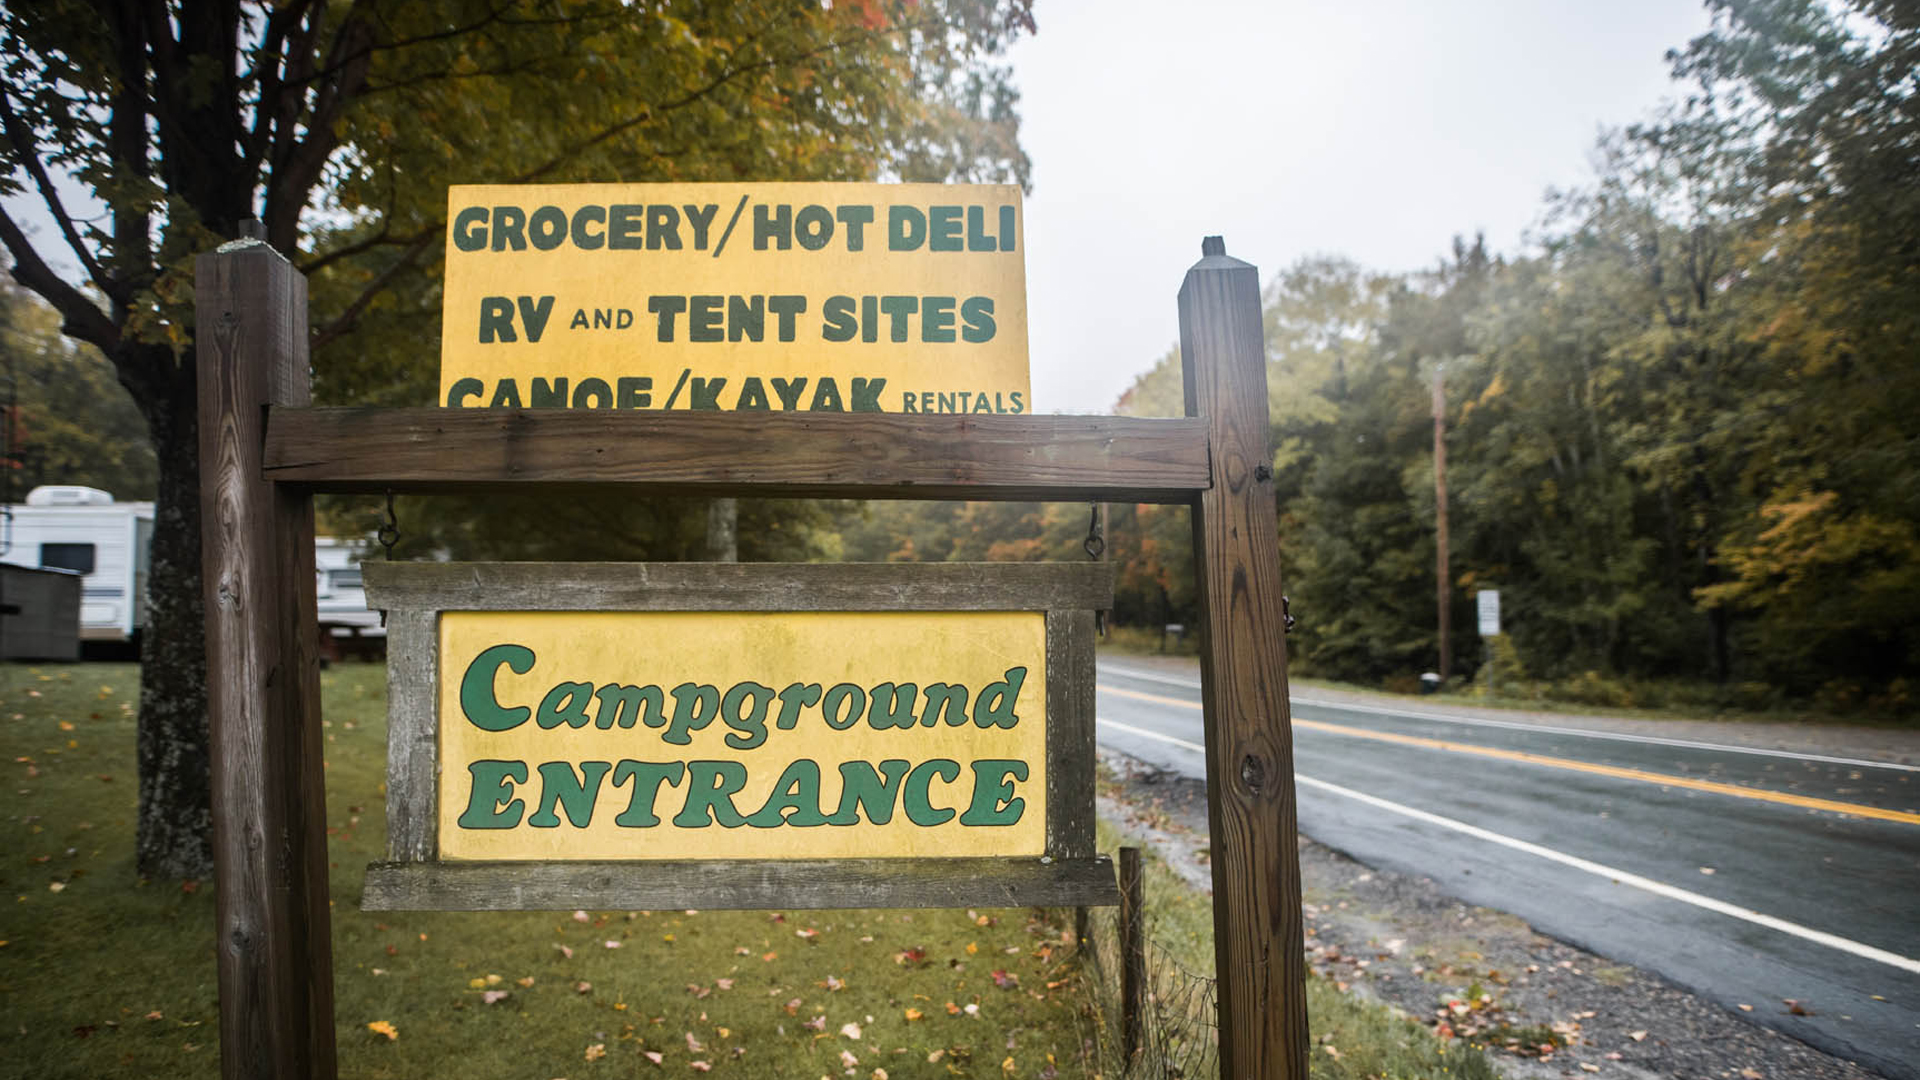
First off – campgrounds come in all shapes and sizes. Some are found in state or national parks, some are privately owned local spots, and some are part of large networks of private national campground chains. Some have pools and playgrounds, most have bathhouses and picnic shelters, some have hiking trails, and some show an outdoor movie for the kids on Saturday night.
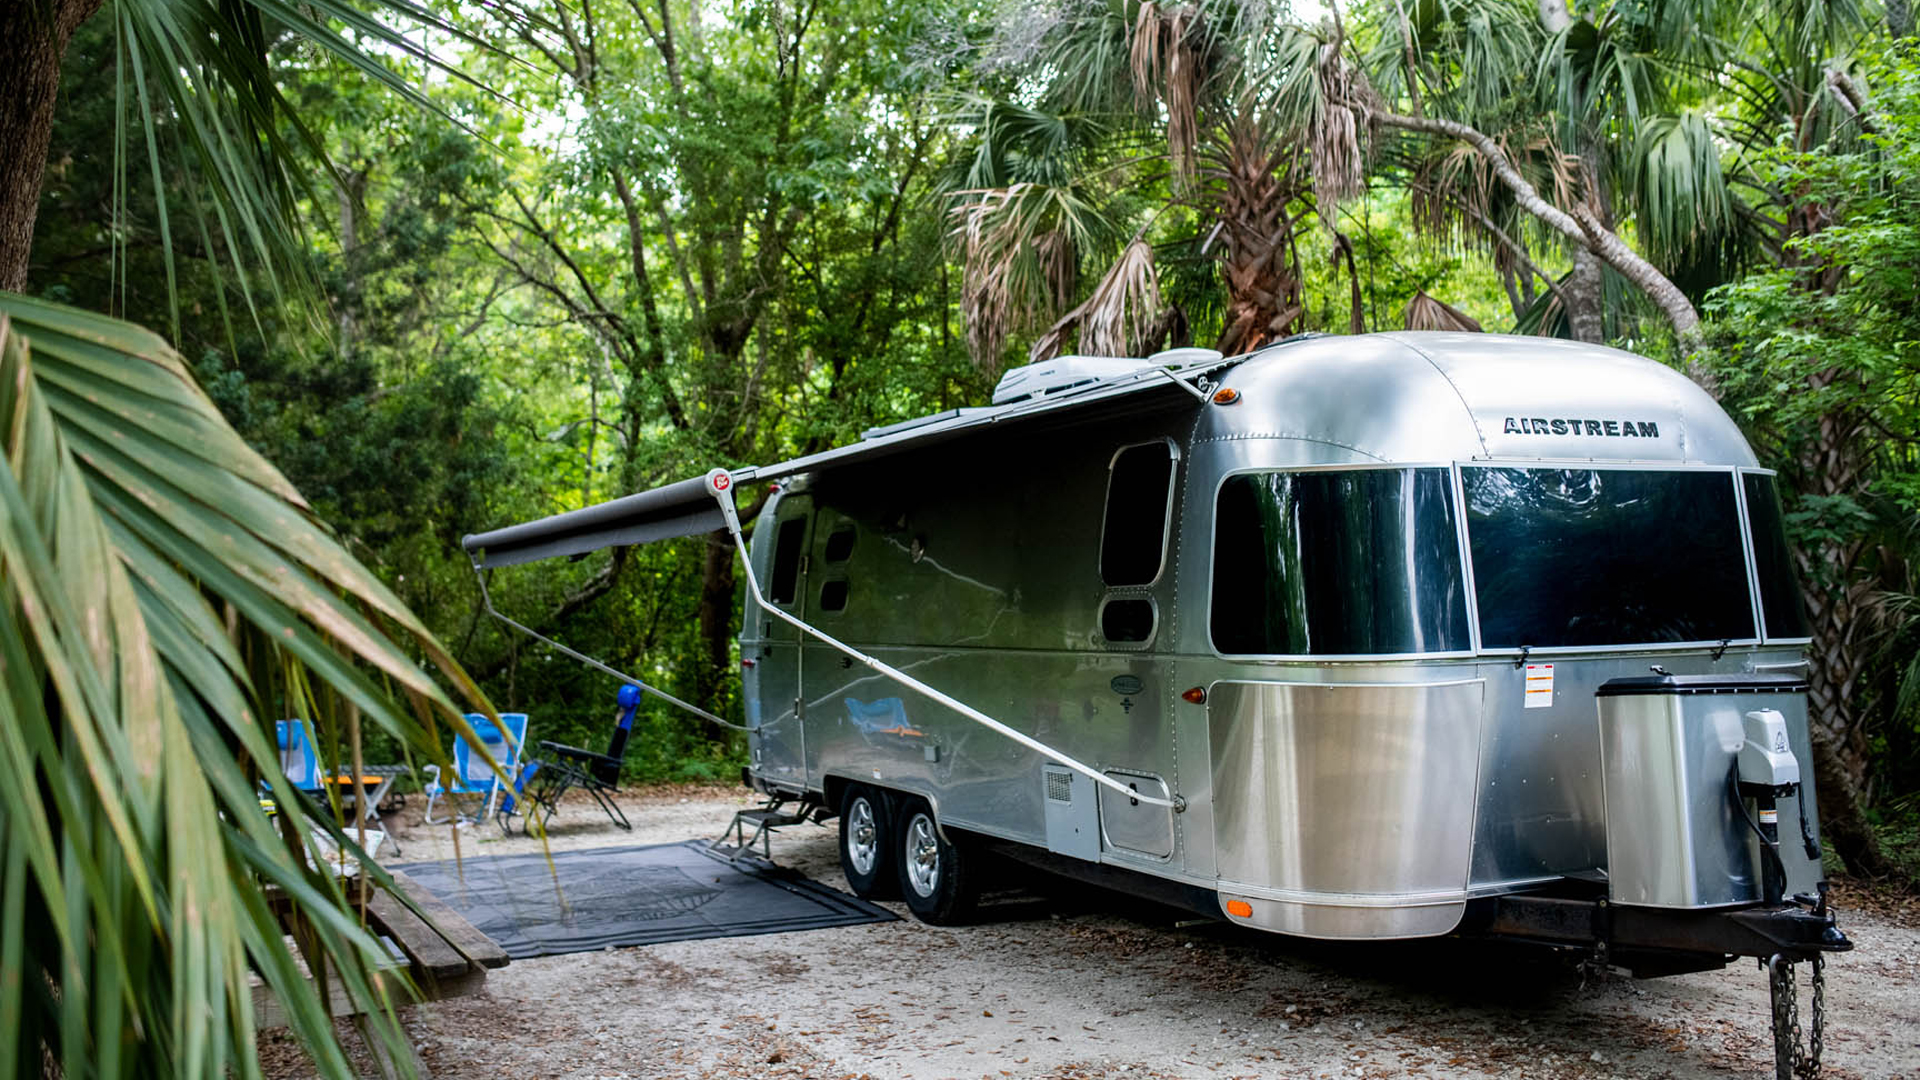
But at their most basic, campgrounds all offer you the essential camping needs: A place to camp and access to the amenities you need like electricity, water, and a place to dispose of your waste. Campgrounds provide a level of certainty and familiarity, and the basic structure you need as a jumping-off point for outside activities. A great campsite lets you get set up and then forget about it until it’s time to hitch up and head home. With everything you need on site, you can go on a hike, hop in the kayak, and make memories with your family.
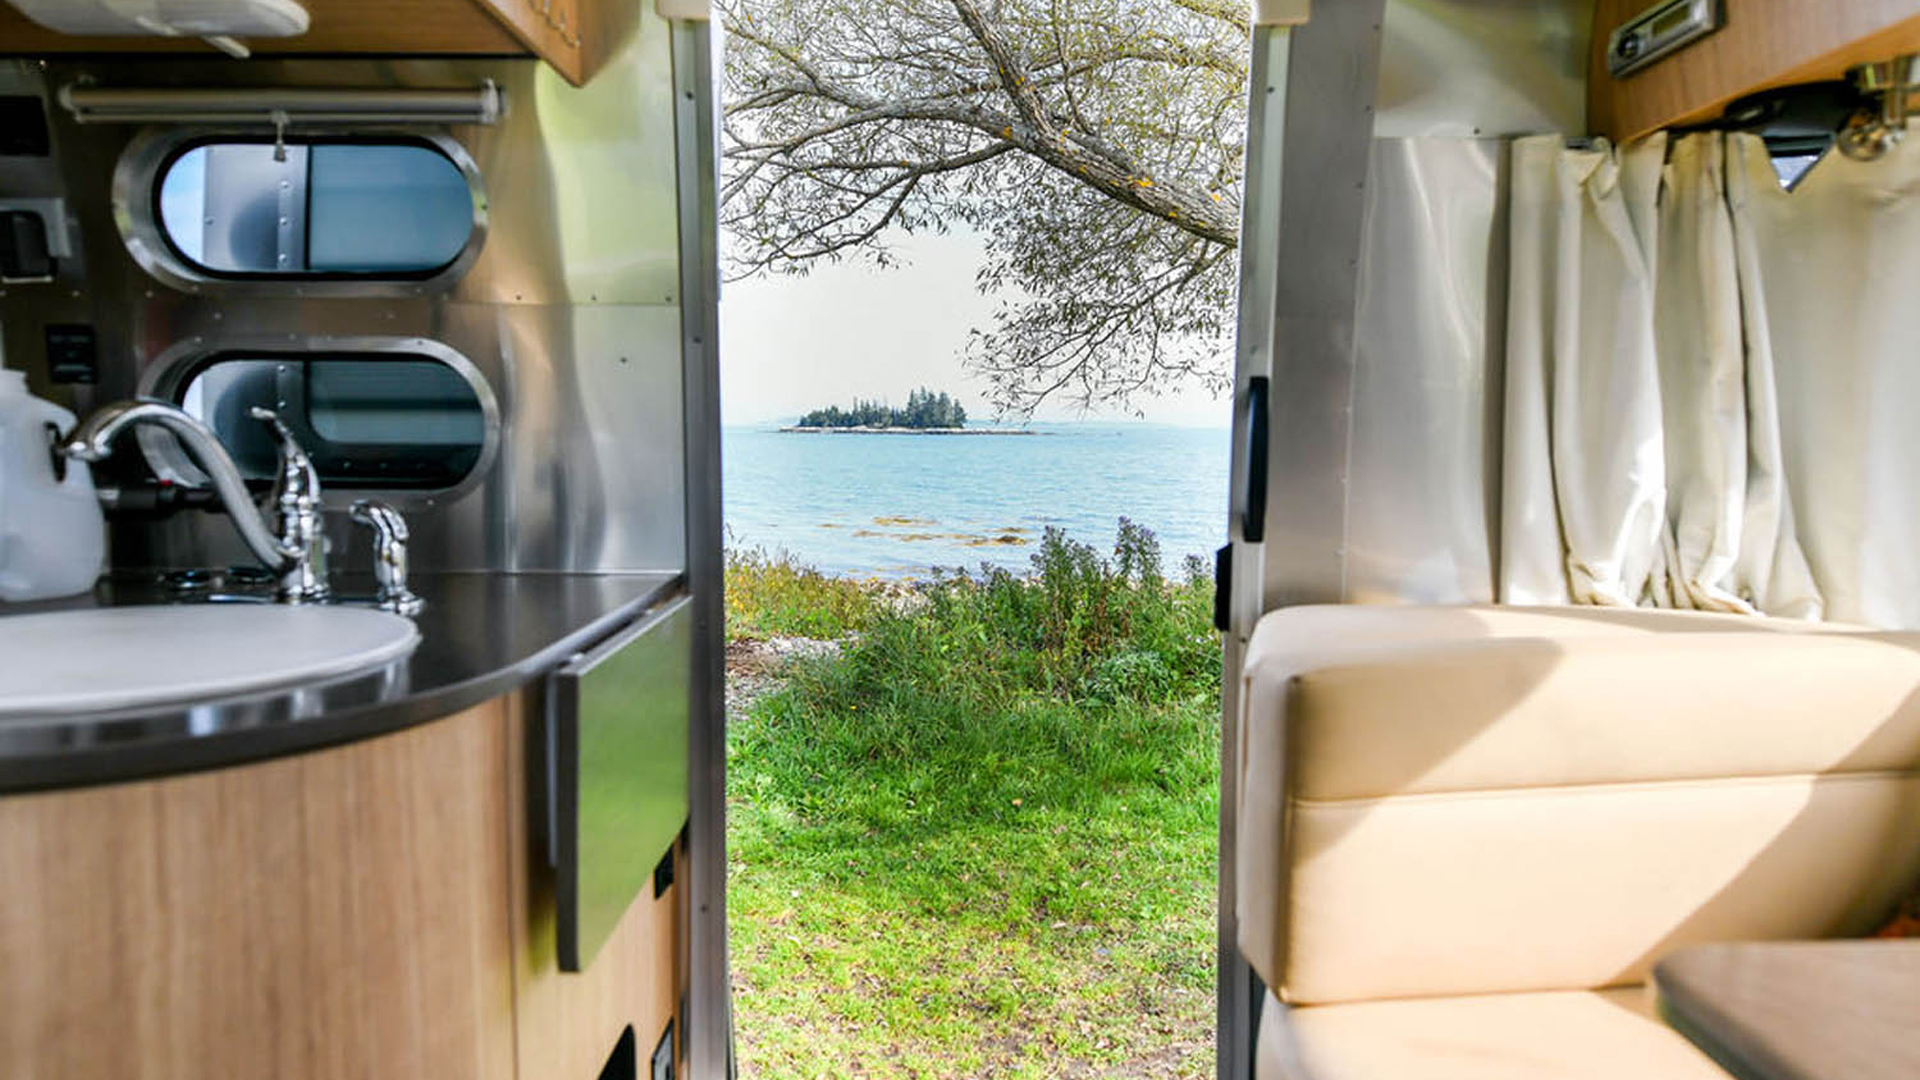
Campgrounds are not nearly as complicated as they can seem when you’re setting off on your first Airstream trip. But once you know what to expect, what to look for, and what you need for a successful trip, campgrounds will become the home away from home you've been looking for.
Campsite Types
There are three main types of campsites: partial hookups, full hookups, and primitive sites.
Partial Hookups
These are by far the most common options you’ll find when looking to reserve a campsite. In general, a partial hookup site will offer electricity from a pedestal located near a rectangular concrete pad. While every campground is different, it’s very common to find campgrounds with a majority of sites that feature electric hookups – but no hookup for water (or sewer) on the individual sites.
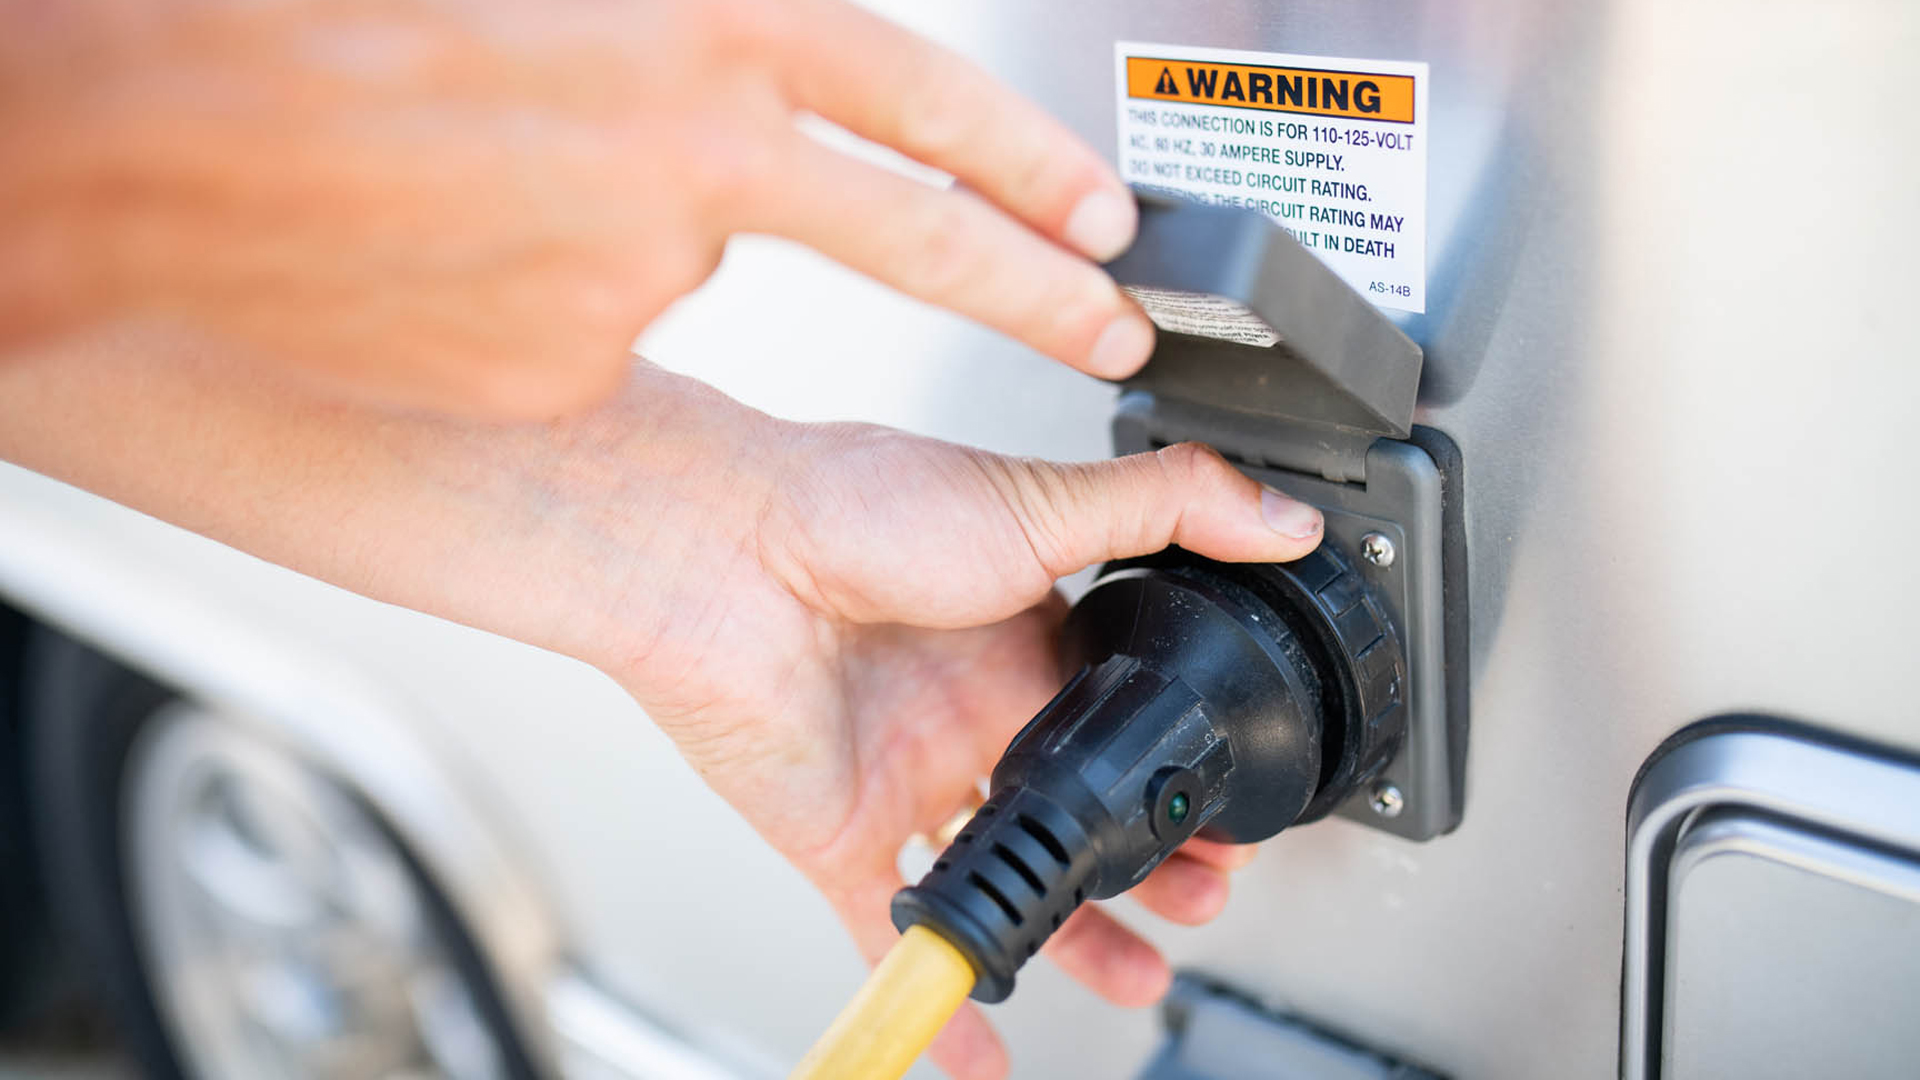
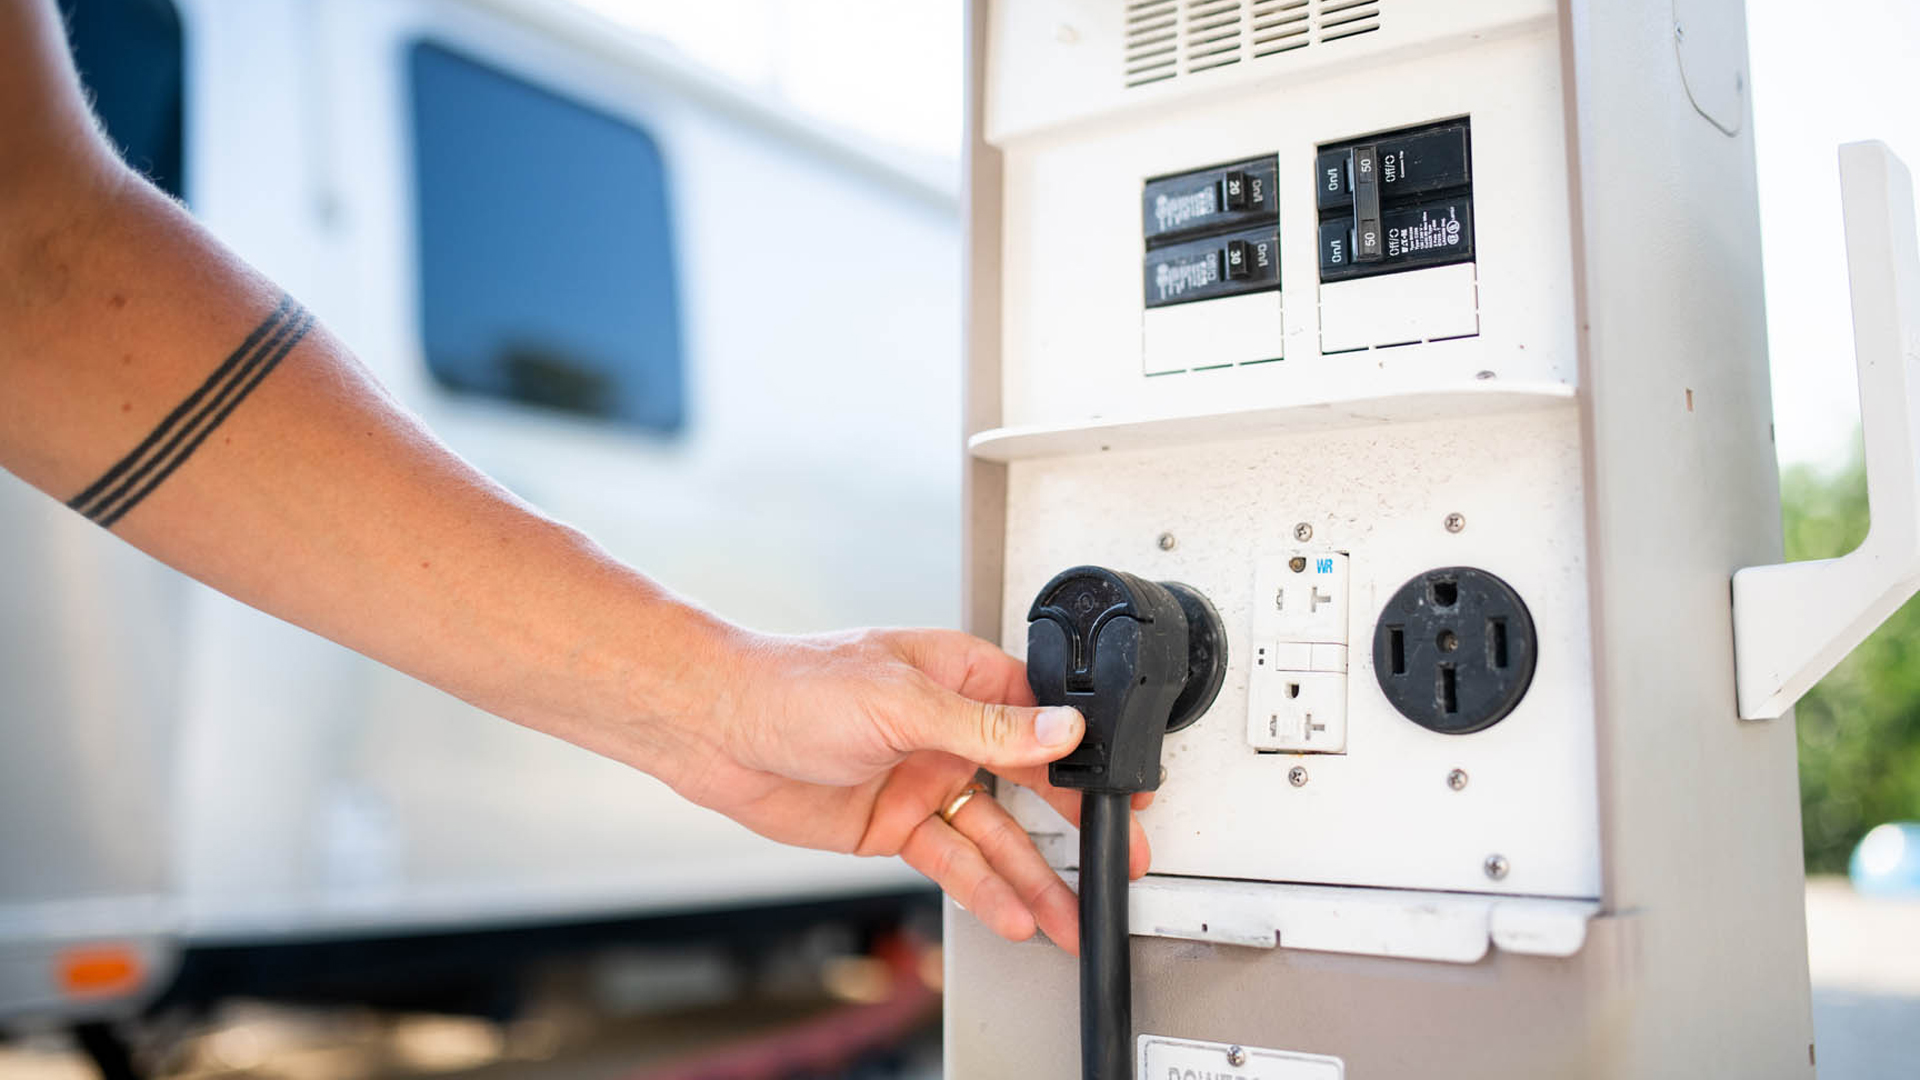
These sites require that you fill your freshwater tank prior to arriving at the campground. Many campgrounds offer freshwater stations to fill up your tank, but many Airstreamers prefer to fill their freshwater tank from their home spigot.
No matter where you’re filling your freshwater tank, always be sure to use an appropriate RV fresh water hose and an inline water filter. Not only will your water be filtered for quality, but there is a significant improvement in the taste of filtered water. Airstream’s online story, Airstream Supply Company, offers many of these freshwater essentials, with convenient bundles that make it easy.
Full Hookups
Full hookup sites come with water, electricity, and sewer hookups. Some campgrounds also include cable hookups for your television. Full hookup sites are by far the most popular – and are often booked well in advance. While they are convenient, most Airstreamers find that with the right planning and conservation mindset they do just fine with (and often prefer) partial hookup sites.
Primitive Campsites
Primitive campsites come in a wide variety, but what they have in common is that they do not have water or electricity at the site. These sites are usually spots designed with tent campers in mind. Oftentimes, there is a parking area with a short walking path to the campsite itself. Other primitive sites have a parking pad for one vehicle with space for a tent or two.
While a primitive site in a traditional campground offers access to campground community and amenities, many Airstreamers who prefer primitive sites – “boondocking” in the parlance of the RV world – like to go a bit further off the beaten path. Great primitive sites can be found on public land, or on private land through a variety of apps like Hipcamp, Campendium, and The Dyrt.
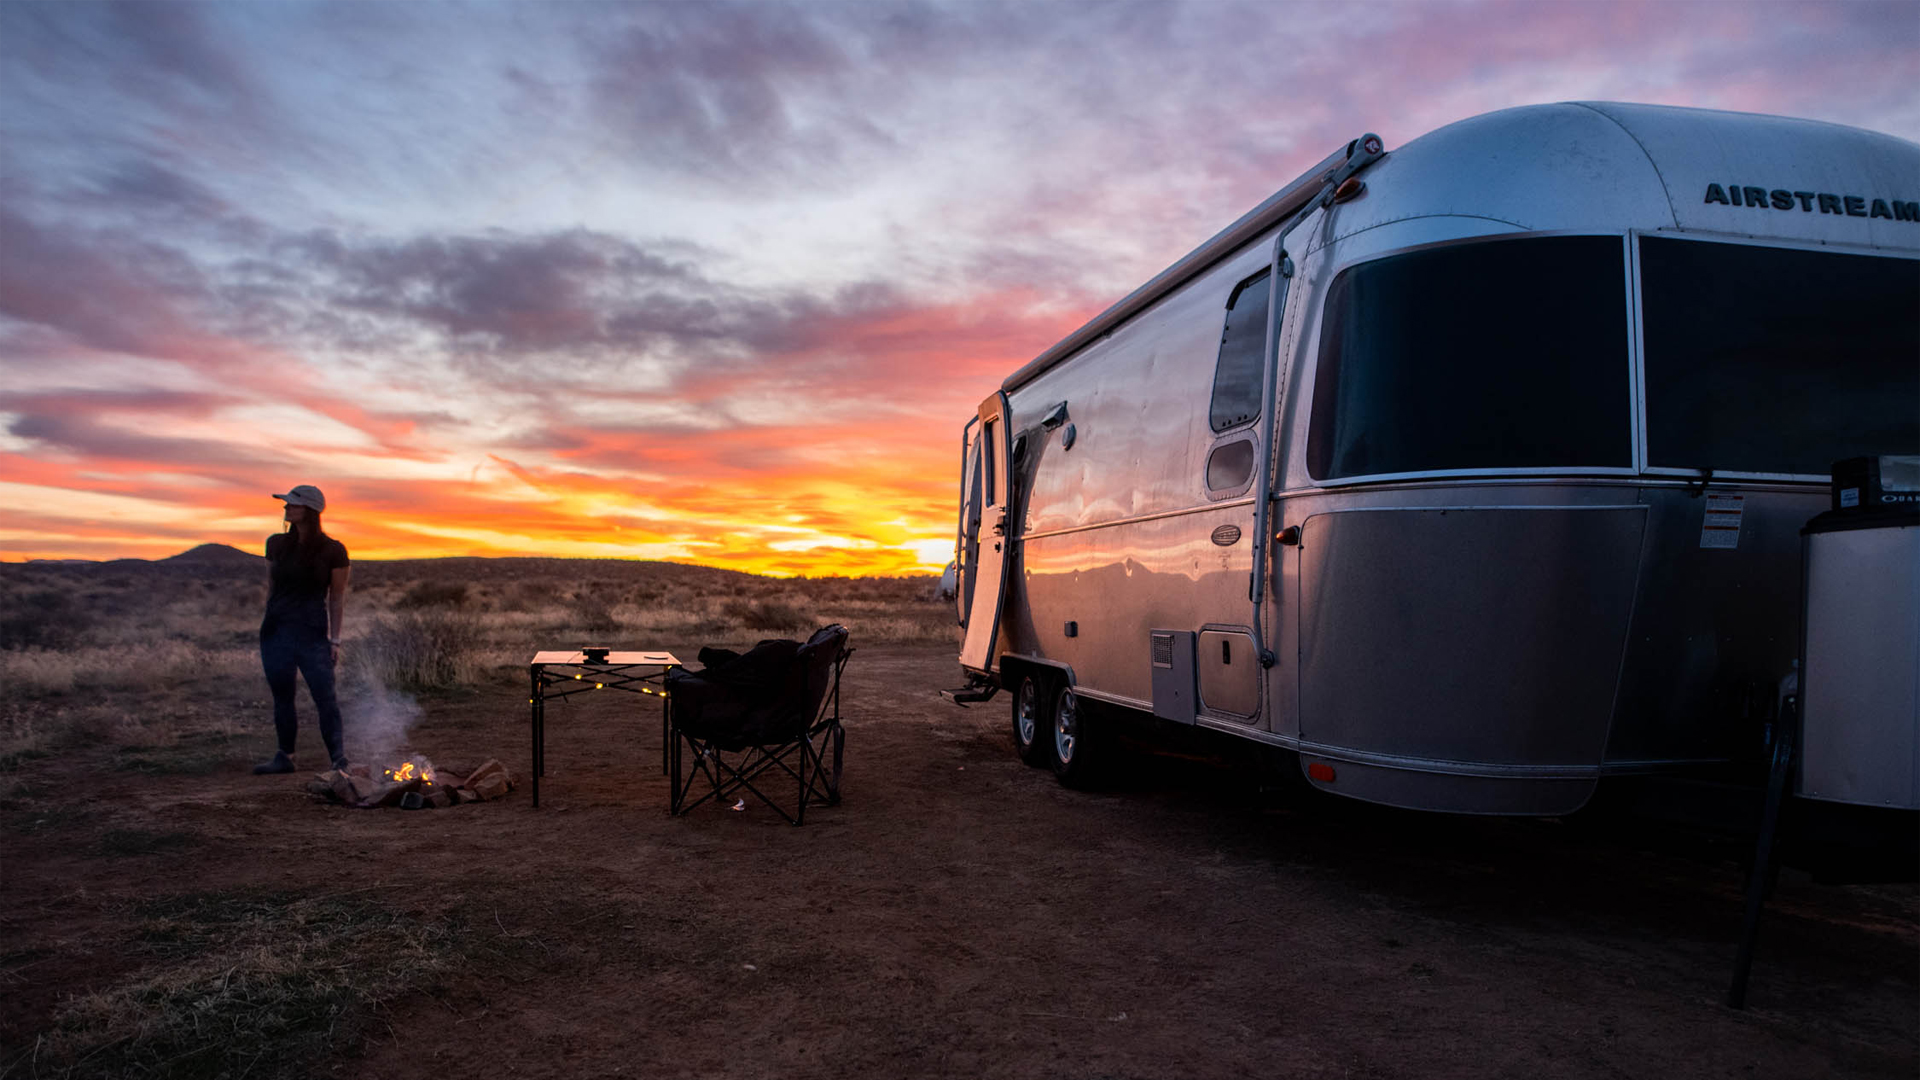
Boondocking is both an art and science, and it’s one of the most fun Airstreaming challenges to try and find the perfect boondocking spots: The ideal spot where you can set up without the hustle and bustle of a traditional campground. Many state and national parks offer primitive sites that allow RVers to experience nature more fully. They don’t offer hookups at these sites, creating a boondocking-like experience.
A Primer on RV Hookups
Although not rocket science, some things are helpful to know about RV hookups before you get to a campground. The amenities offered will depend on the park, but the three main hookups you need to be aware of are electricity, water, and sewer.
Hooking Up Electricity
RV Power can be daunting, but you’ll learn quickly that it’s almost as easy as just plugging into an outlet. If you’ve selected a campsite with partial or full hookups, it’s likely (be sure to check) that power is available to hook up your Airstream. When you pull into such a campsite, you will see a post with a metal box on top. Inside that box are power outlets. Some campsites offer several different power hookups, from a lower amperage outlet or two like you’d find in your home, appropriate for plugging in your typical orange extension cord, to 30 amp and 50 amp service appropriate for heavy duty RV power cords.
Depending on the size and design of your Airstream, your rig will draw different amounts of power (aka the amperage). You are likely already familiar with the power requirements of your Airstream, but this is important information for you to commit to memory. Ask your local dealer if you have more questions.
Fifty amp requirements are typical of an Airstream with two air conditioning units. Otherwise, you will only need 30 amps. If the site doesn't offer the plug-in you need, you might still be able to power your rig using a converter or step-down adapter (sometimes called a dog bone or pigtail). This allows you to convert a 50-amp connection to a 30-amp connection (or from 30 amps down to 15 amps), but you will not be able to use all your appliances, especially at the same time. With a 30-amp hookup, you will only be able to power one AC unit at a time. Be sure to familiarize yourself with your Airstream manual and the systems you have onboard – trying to run appliances without appropriate power can lead to costly maintenance.
Before plugging your rig into shore power, it’s a great idea to use a GFCI outlet tester to ensure the outlet and power pedestal is wired and performing up to standards. Every new Airstream comes with just such a tool – if you don’t have one, consider the small investment that could save you on costly electronics repairs. It is also strongly recommended that you invest in a quality surge protector. These devices plug directly into the power pedestal and give you a measure of security knowing that any dangerous or damaging power surges will not wreak havoc on your Airstream’s internal electronics.
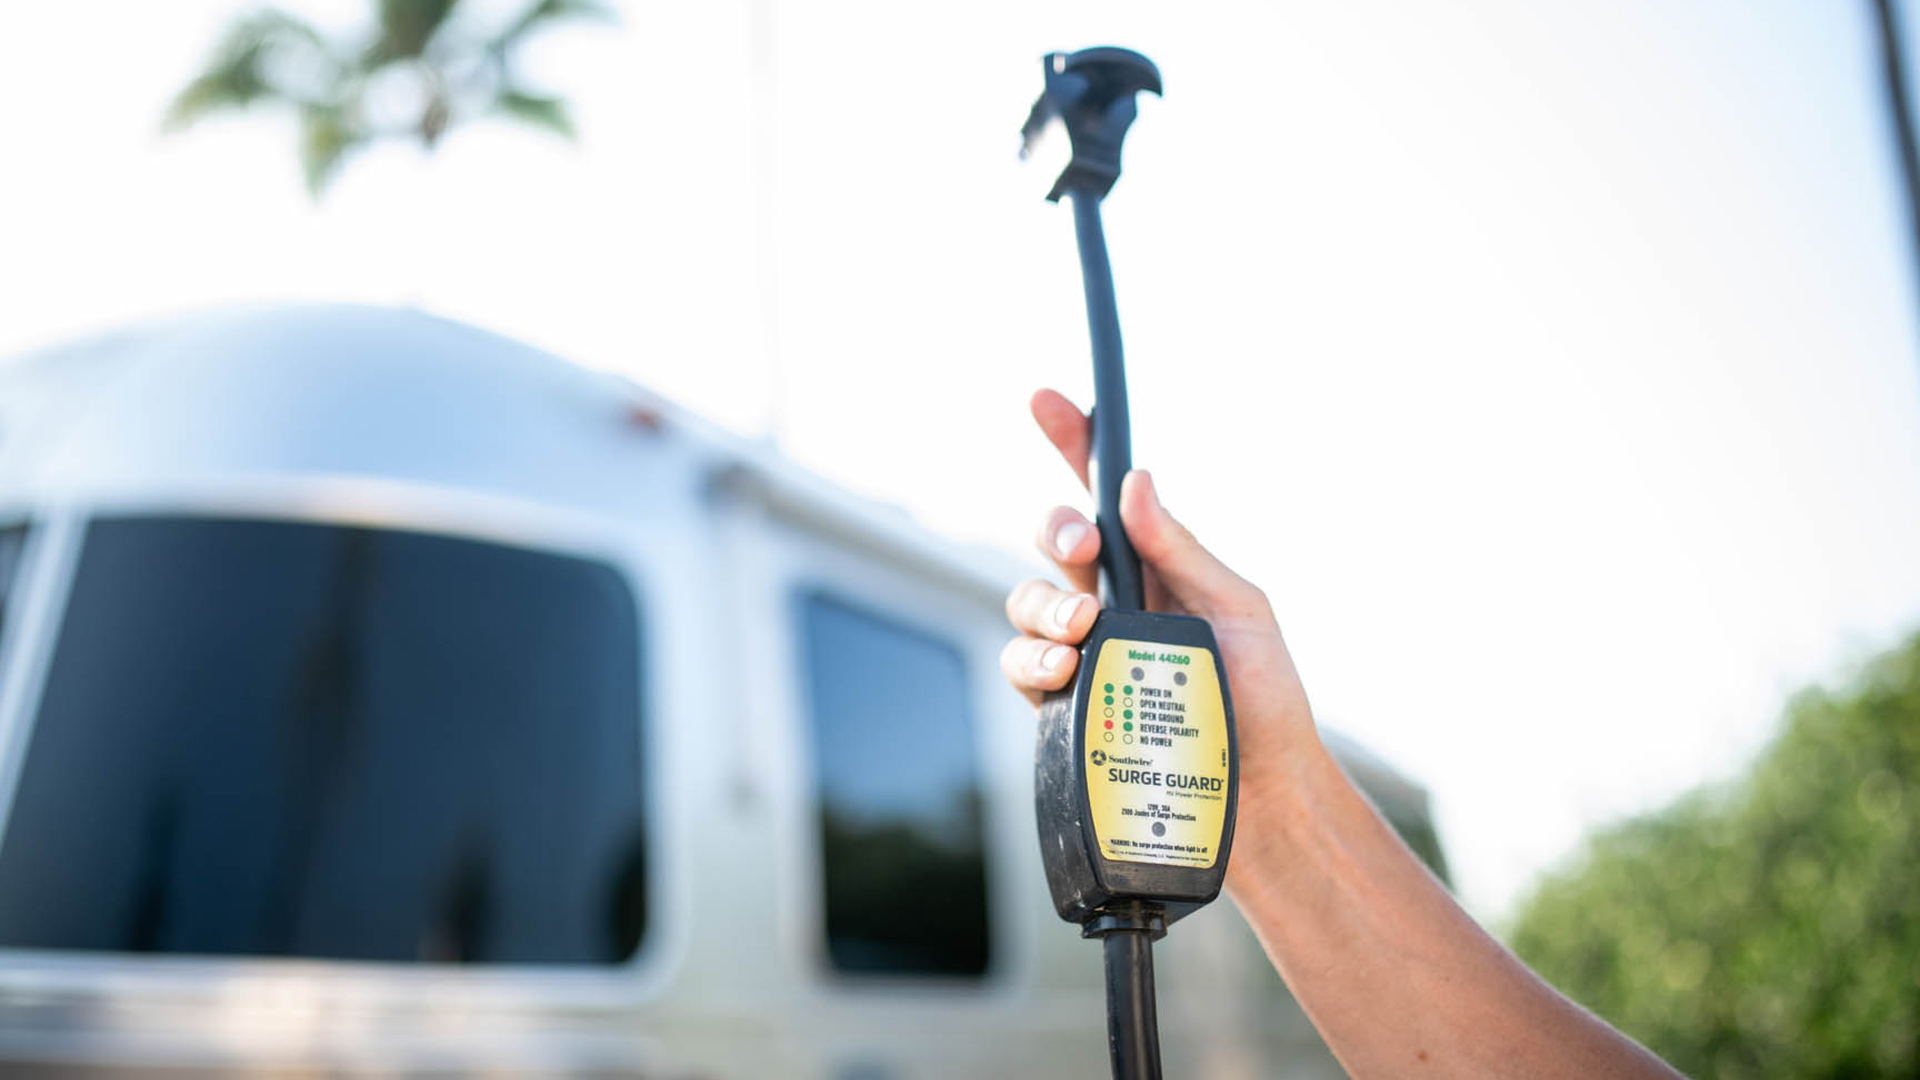
Once you’ve ensured that you have adequate power at the pedestal, turn off all electronics in your Airstream and flip the pedestal’s breaker switches to "off." Once you are plugged in, you can turn the breaker switch back to "on." Then, turn on the power in your Airstream as needed.
Hooking Up Fresh Water
Filling the Fresh Tank
If you plan on using the water coming from your RV's sinks for drinking, make sure you use a drinking water-specific hose – they are typically all white and are made to handle the high pressure from a household spigot. We strongly encourage you to invest in an inline water filter as well. Airstreamers can shop convenient bundles or purchase essential freshwater equipment a la carte at our online store, Airstream Supply Company.
If you’re traveling to a campsite with only an electrical hookup, consider filling your freshwater tank at home. Attach one end of your freshwater hose to your home’s outdoor spigot and the other end to an inline water filter. Open the freshwater fill port on the side of your Airstream, insert the end of the hose and turn on the spigot. Modern Airstreams have an overflow port adjacent to the freshwater fill – the tank is full when that overflow port begins to run. Then you can turn off the water and stow your hose and filter. Close the freshwater port and you are ready to roll. Once you arrive at your campsite and get set up, you’ll need to be sure your water pump is on for water to flow through the faucets.
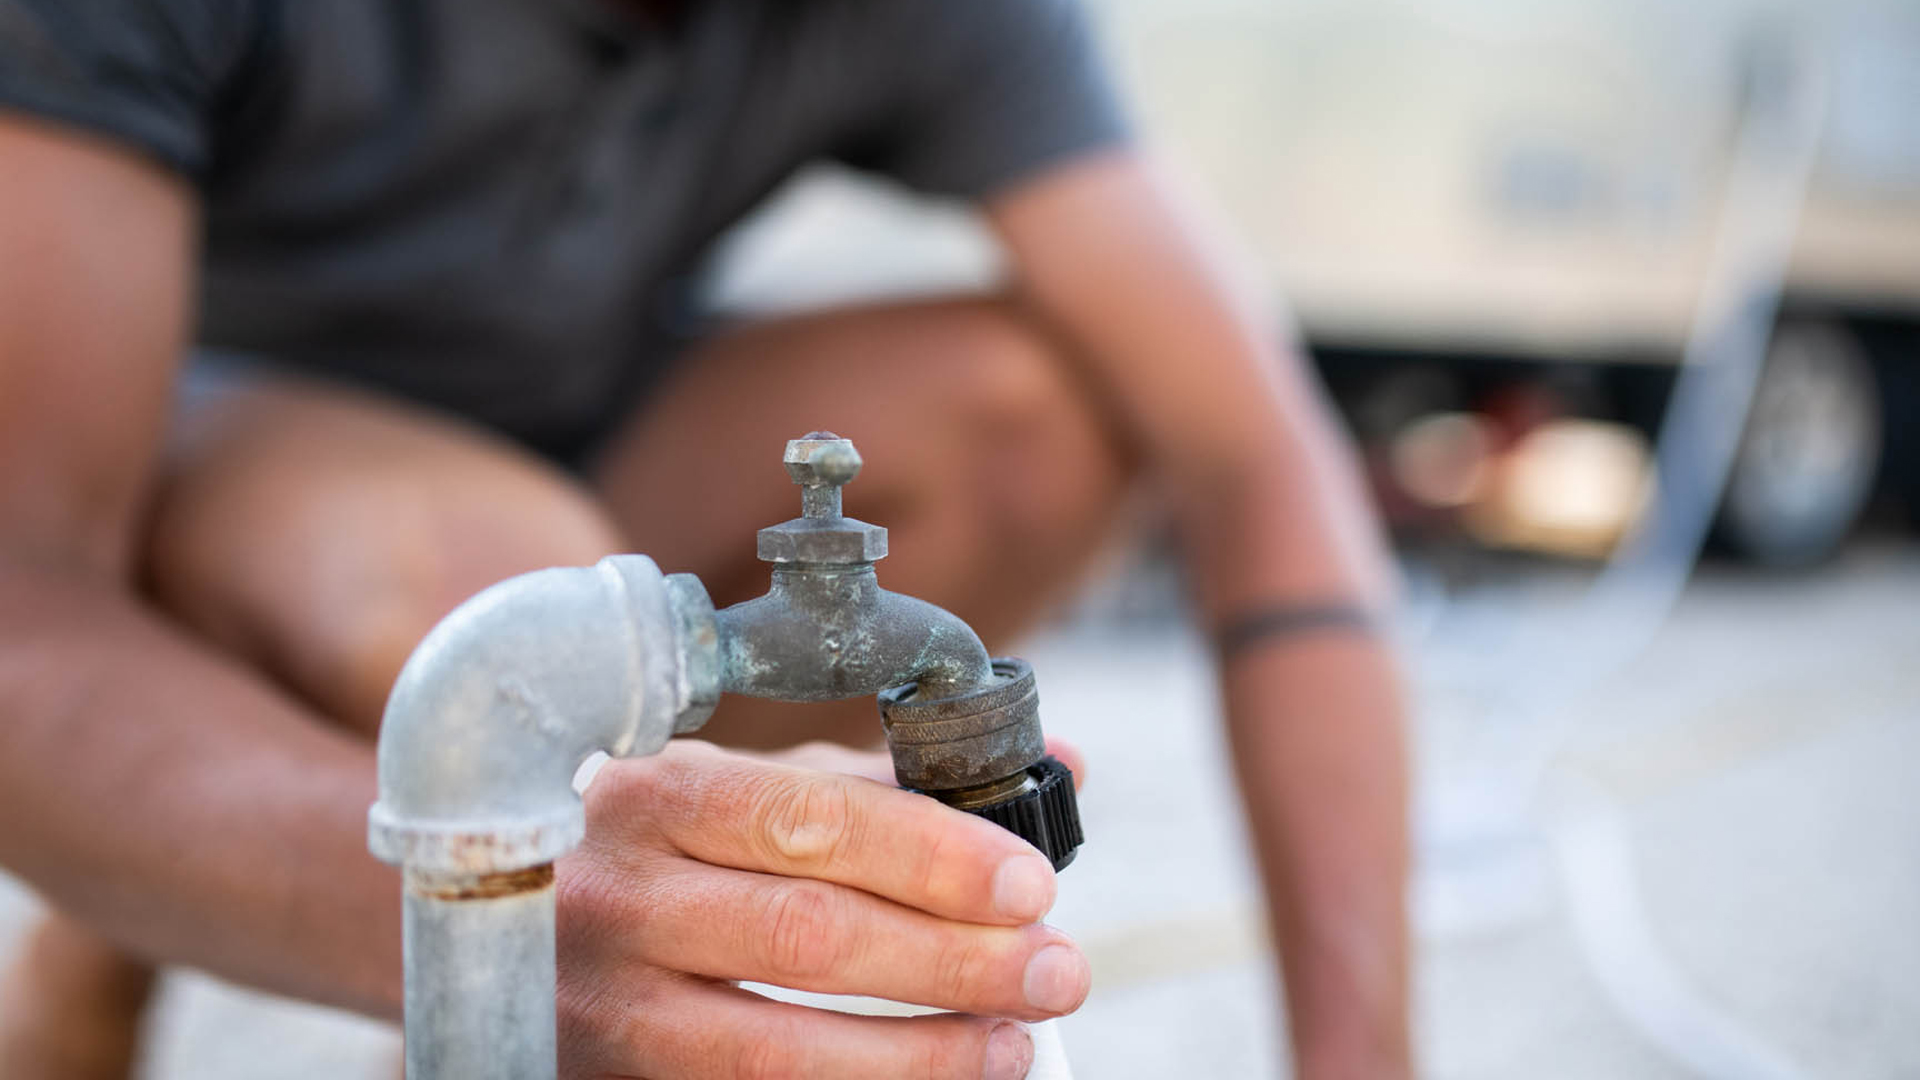
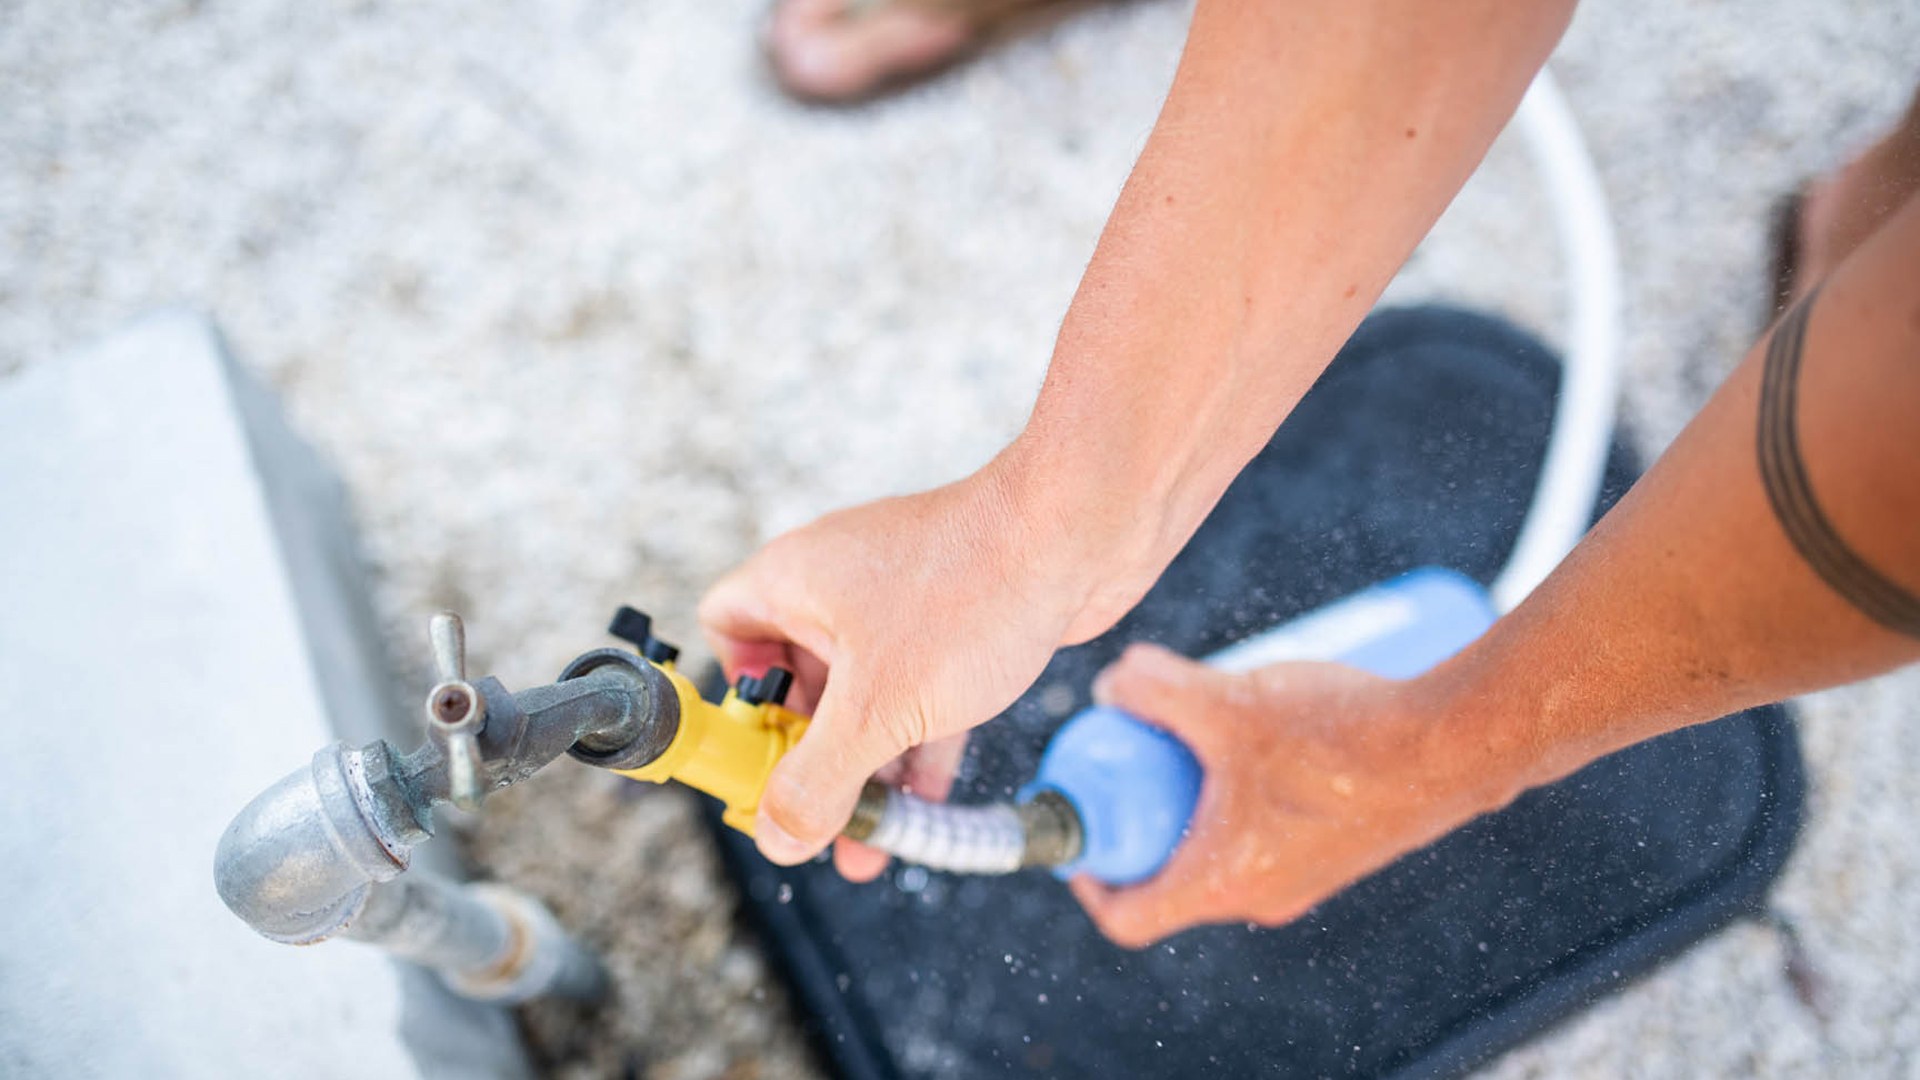
Many campgrounds also offer freshwater fill stations located around the campground. While an Airstream Travel Trailer’s low center of gravity means they are already very good at towing with a full tank of freshwater, towing with empty tanks is sometimes preferably depending on your towing experience. Empty tanks mean less weight for your tow vehicle to carry and less potential for shifting weight due to sloshing water in the tank.
If you’re hooking up to fresh water at a full hookup site, the process is a bit different. Instead of filling your tank with water, you’ll hook directly to the pressurized city water spigot at your campsite.
Hooking Up to City Water
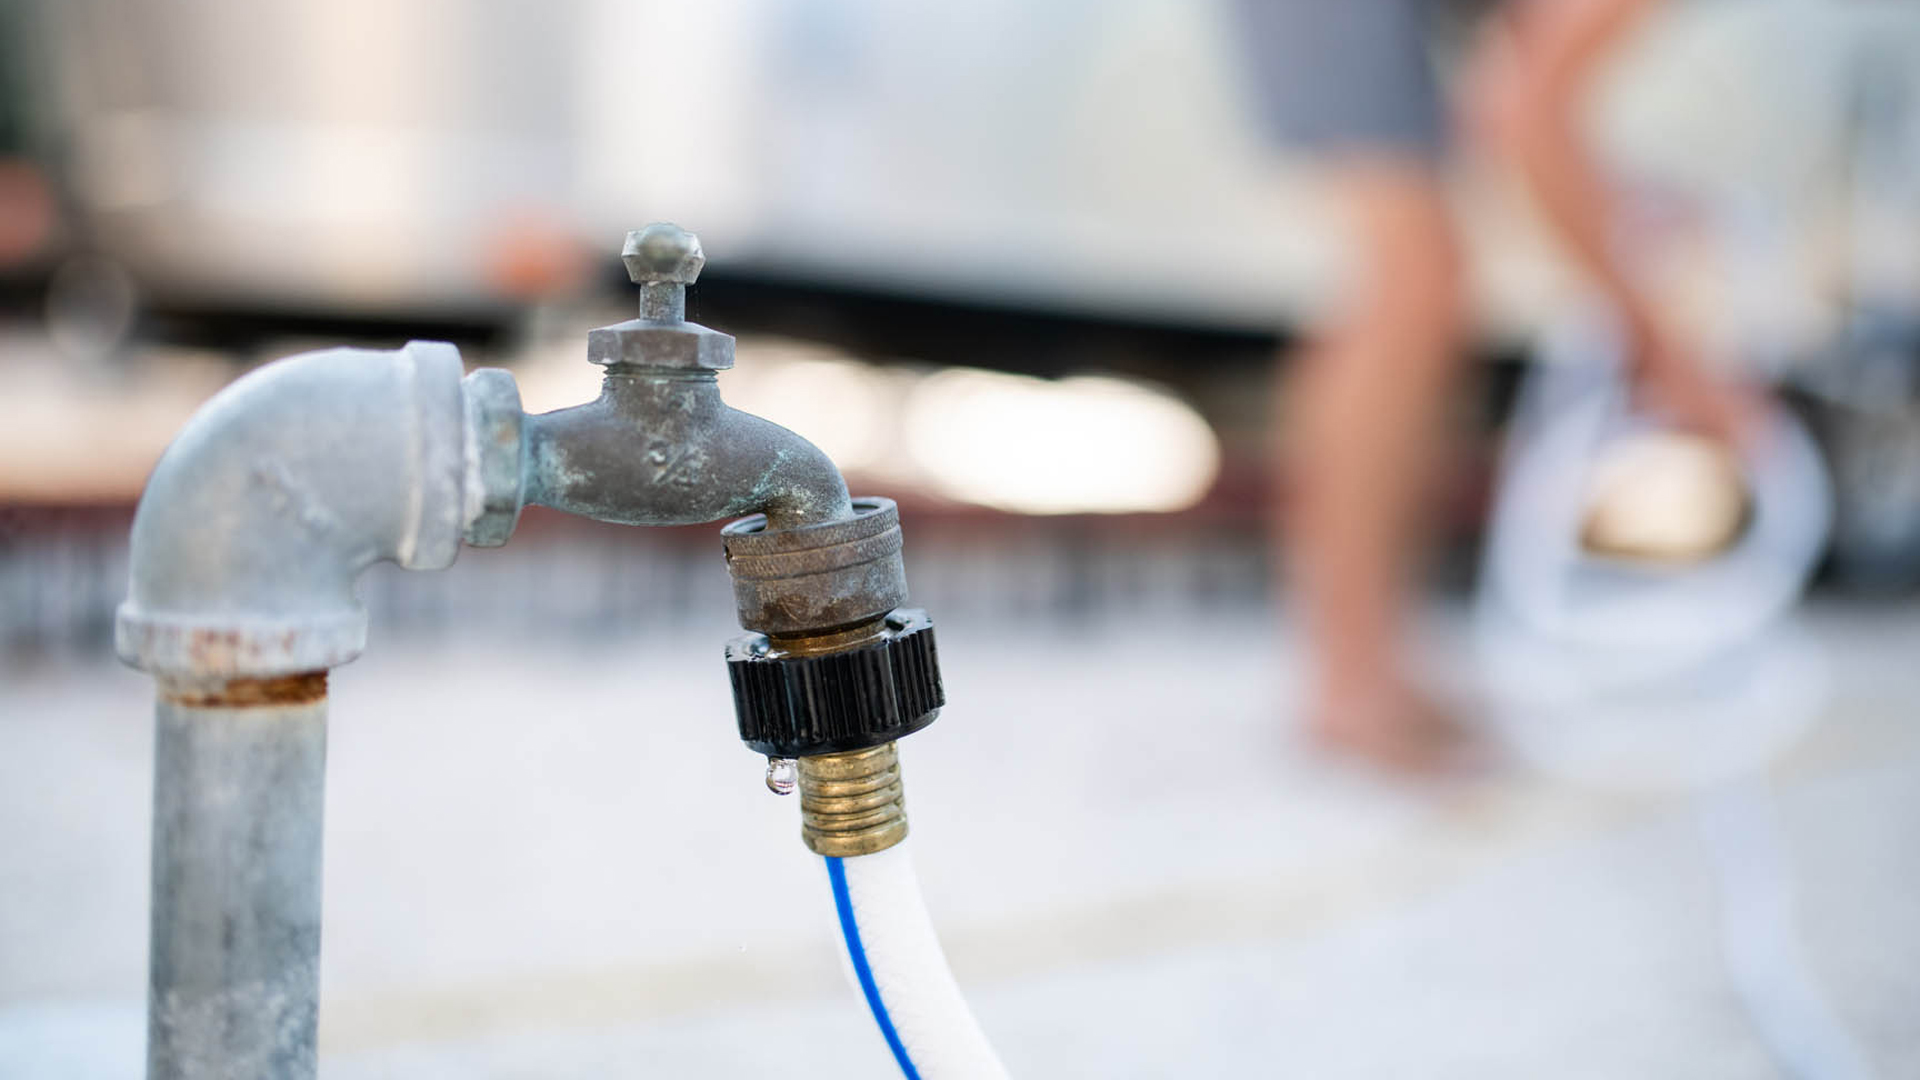
Attach your freshwater hose and a water filter to the campsite spigot, but instead of filling the fresh water tank, attach your hose to the city water inlet (nearby on your Airstream’s roadside). This hookup will pressurize your Airstream’s plumbing system, letting you run faucets and even take a warm shower. Just be sure to monitor how full your grey water tank is, and open it to drain some if it’s getting too full. We recommend that you always keep your grey water tank closed until you have to – letting the grey water drain after draining your black tank is a great way to clean out the system before you set off for home.
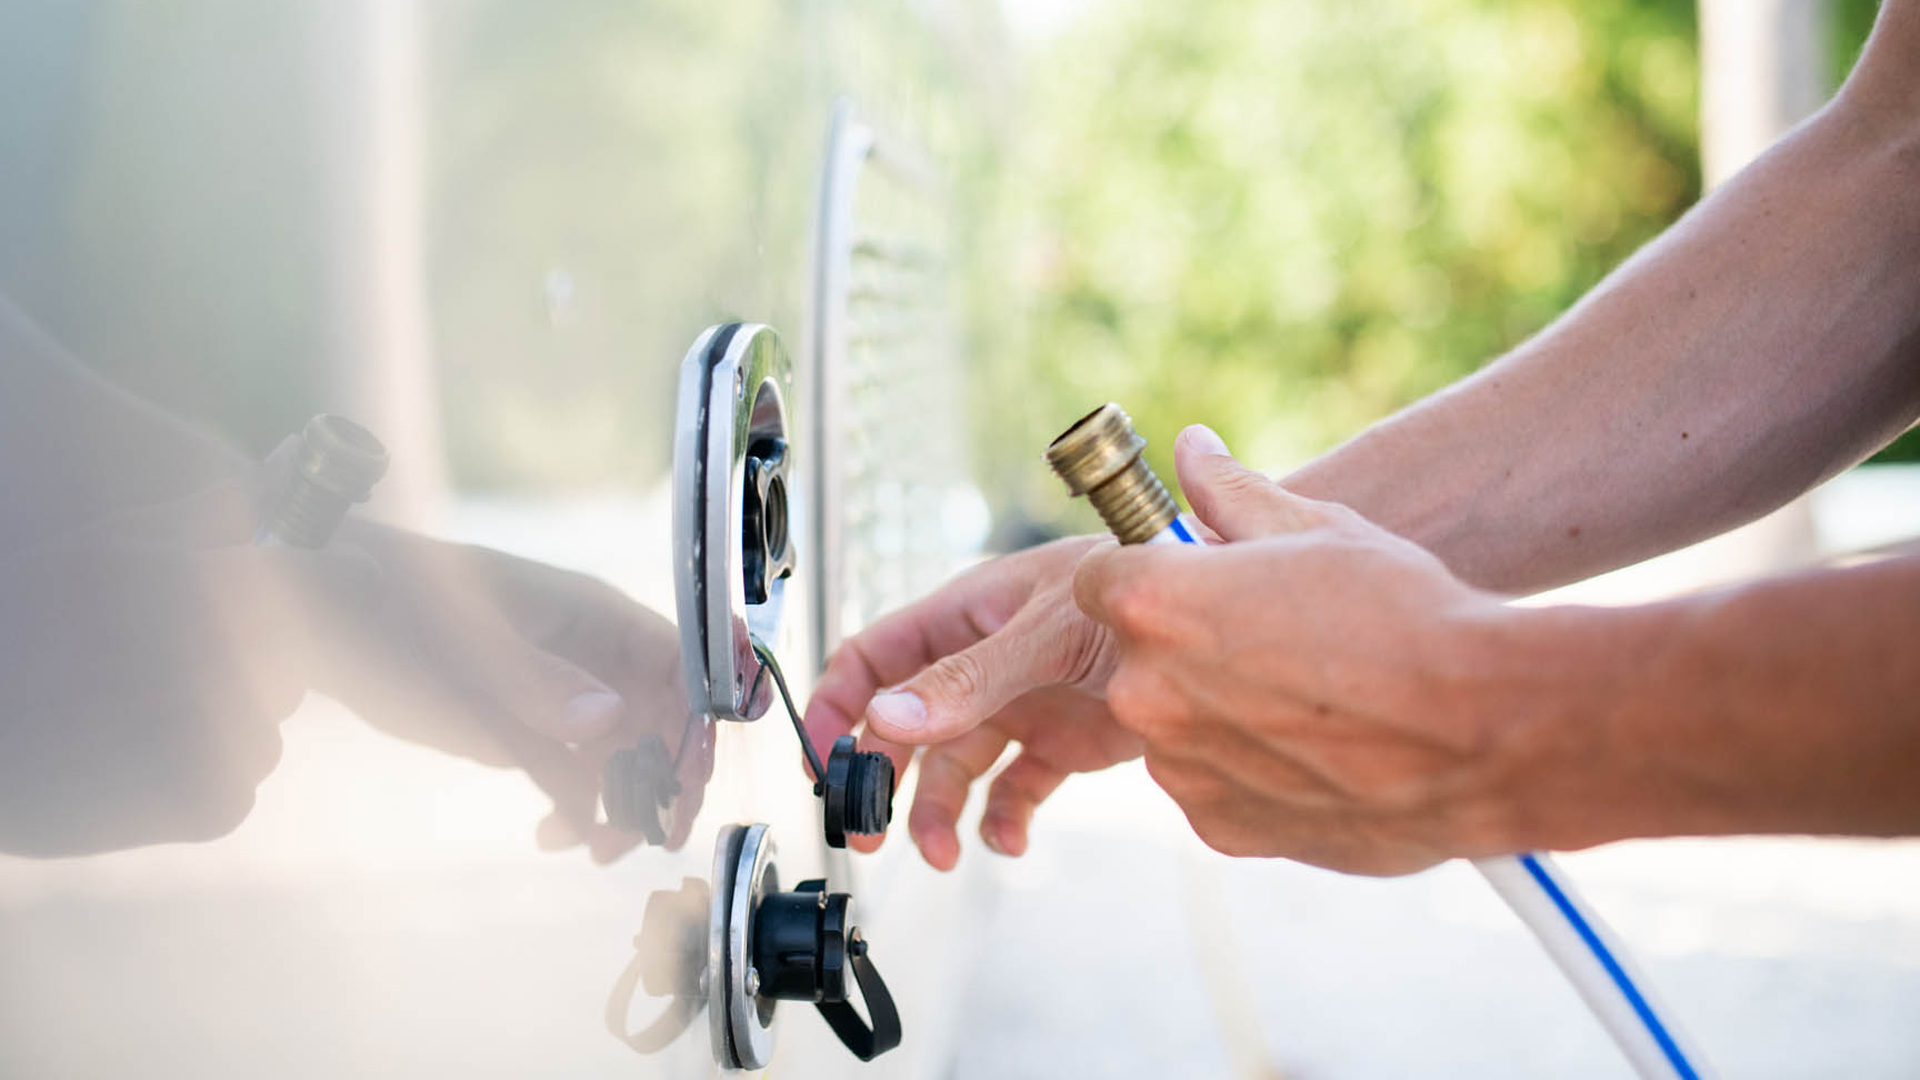
Most modern Airstream Travel Trailers and Touring Coaches feature an inline water pressure regulator that limits water pressure to less than 50 psi and ensures your Airstream won’t be damaged by water coming at too high of a pressure. But it never hurts to have more information – and more control over the external systems you need to fuel your adventures. Water pressure regulators are relatively affordable solutions that let you control the water pressure going into your Airstream. Some feature just a gauge (letting you control the pressure by turning the spigot), but others feature a highly calibrated valve that lets you dial in the perfect pressure. Always ensure that water pressure going into your Airstream is less than 50 psi.
Some water hookups look like a traditional spout found on the outside of many homes. Others will have a large metal handle on top of a metal pole coming out of the ground. Regardless, they will have an identifiable threaded spout where you can attach a water hose.
Hooking Up Sewer
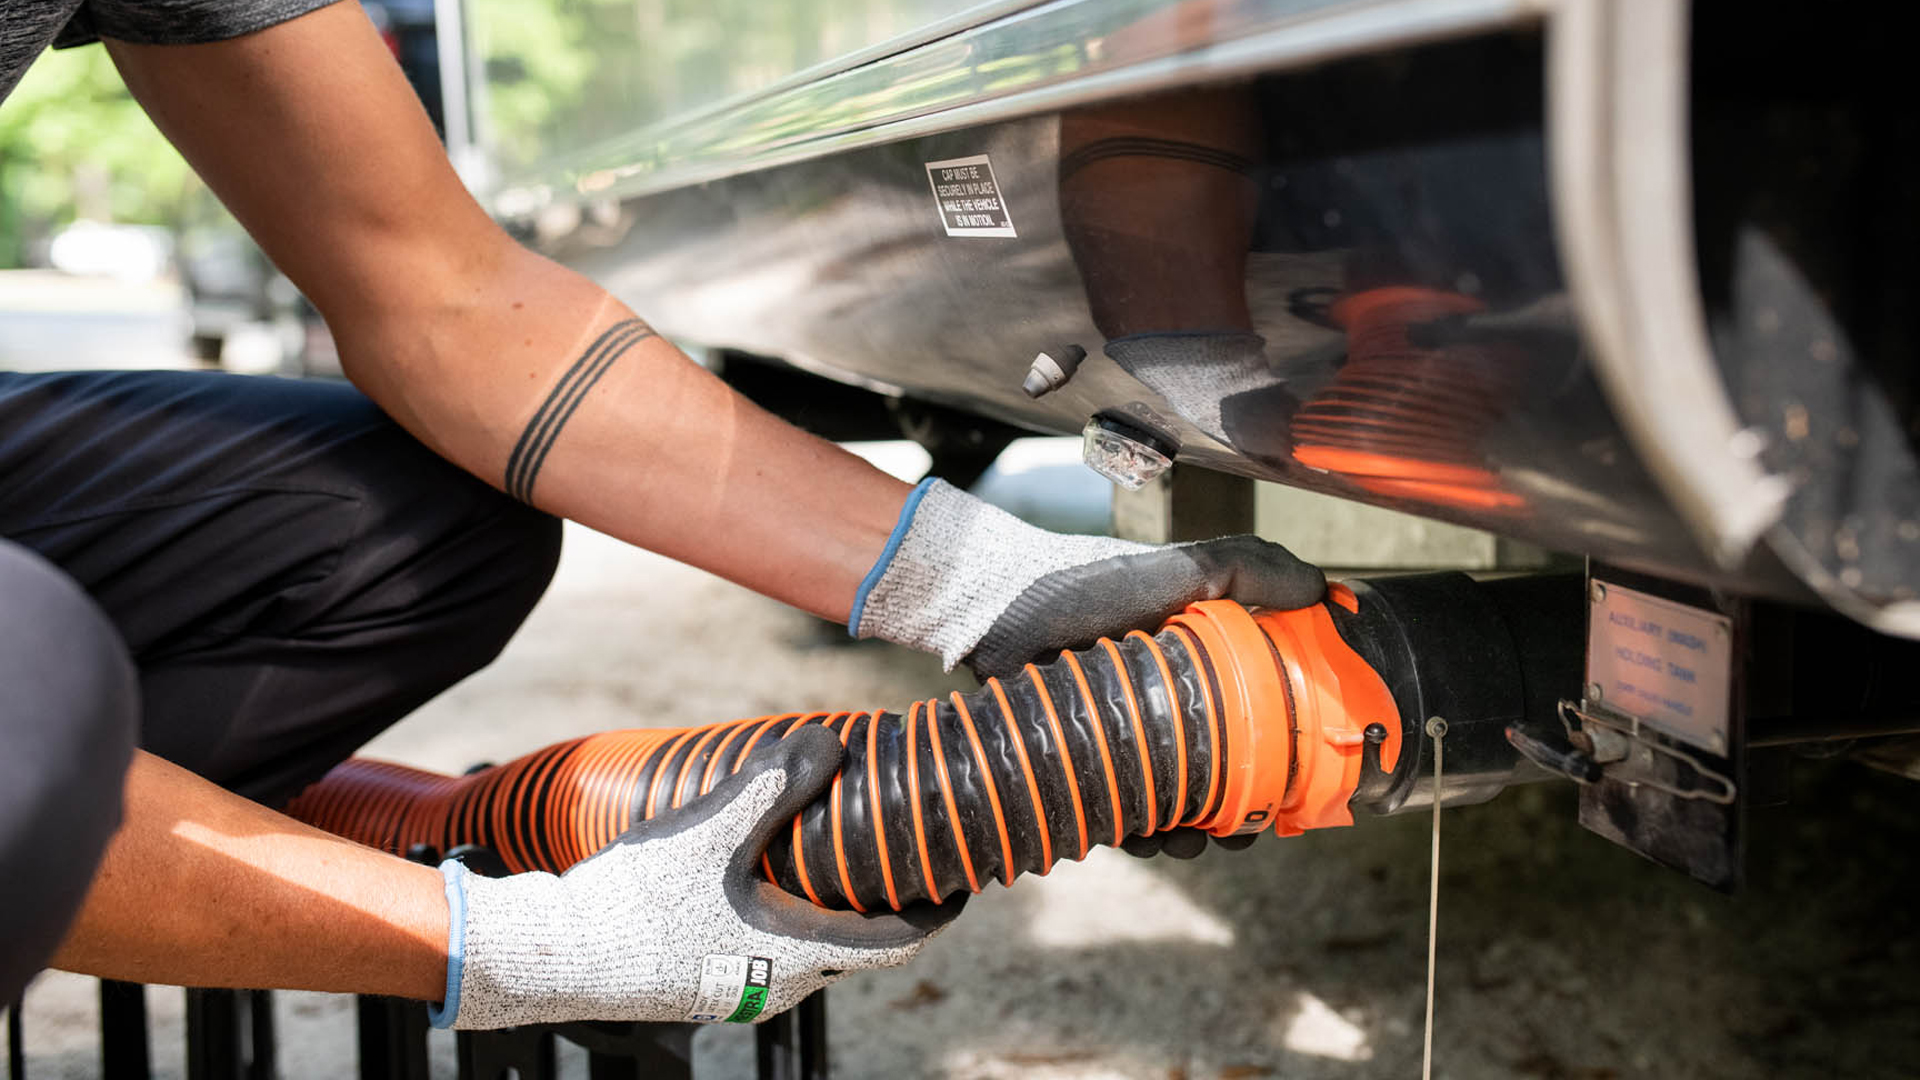
If your site has sewer hookups, it’s time to don your rubber gloves. Make sure first that your gray and black water tank valves are closed.
Attach your sewer hose to your Airstream’s drain spout. Attach the sewer connector elbow to the other end of the sewer hose. Then, insert the elbow into the sewer drain – usually topped by a hinged, metal cap. If the drain has threads, you can screw the elbow into position. Many Airstreamers invest in a sewer hose support to ensure everything is draining downhill.
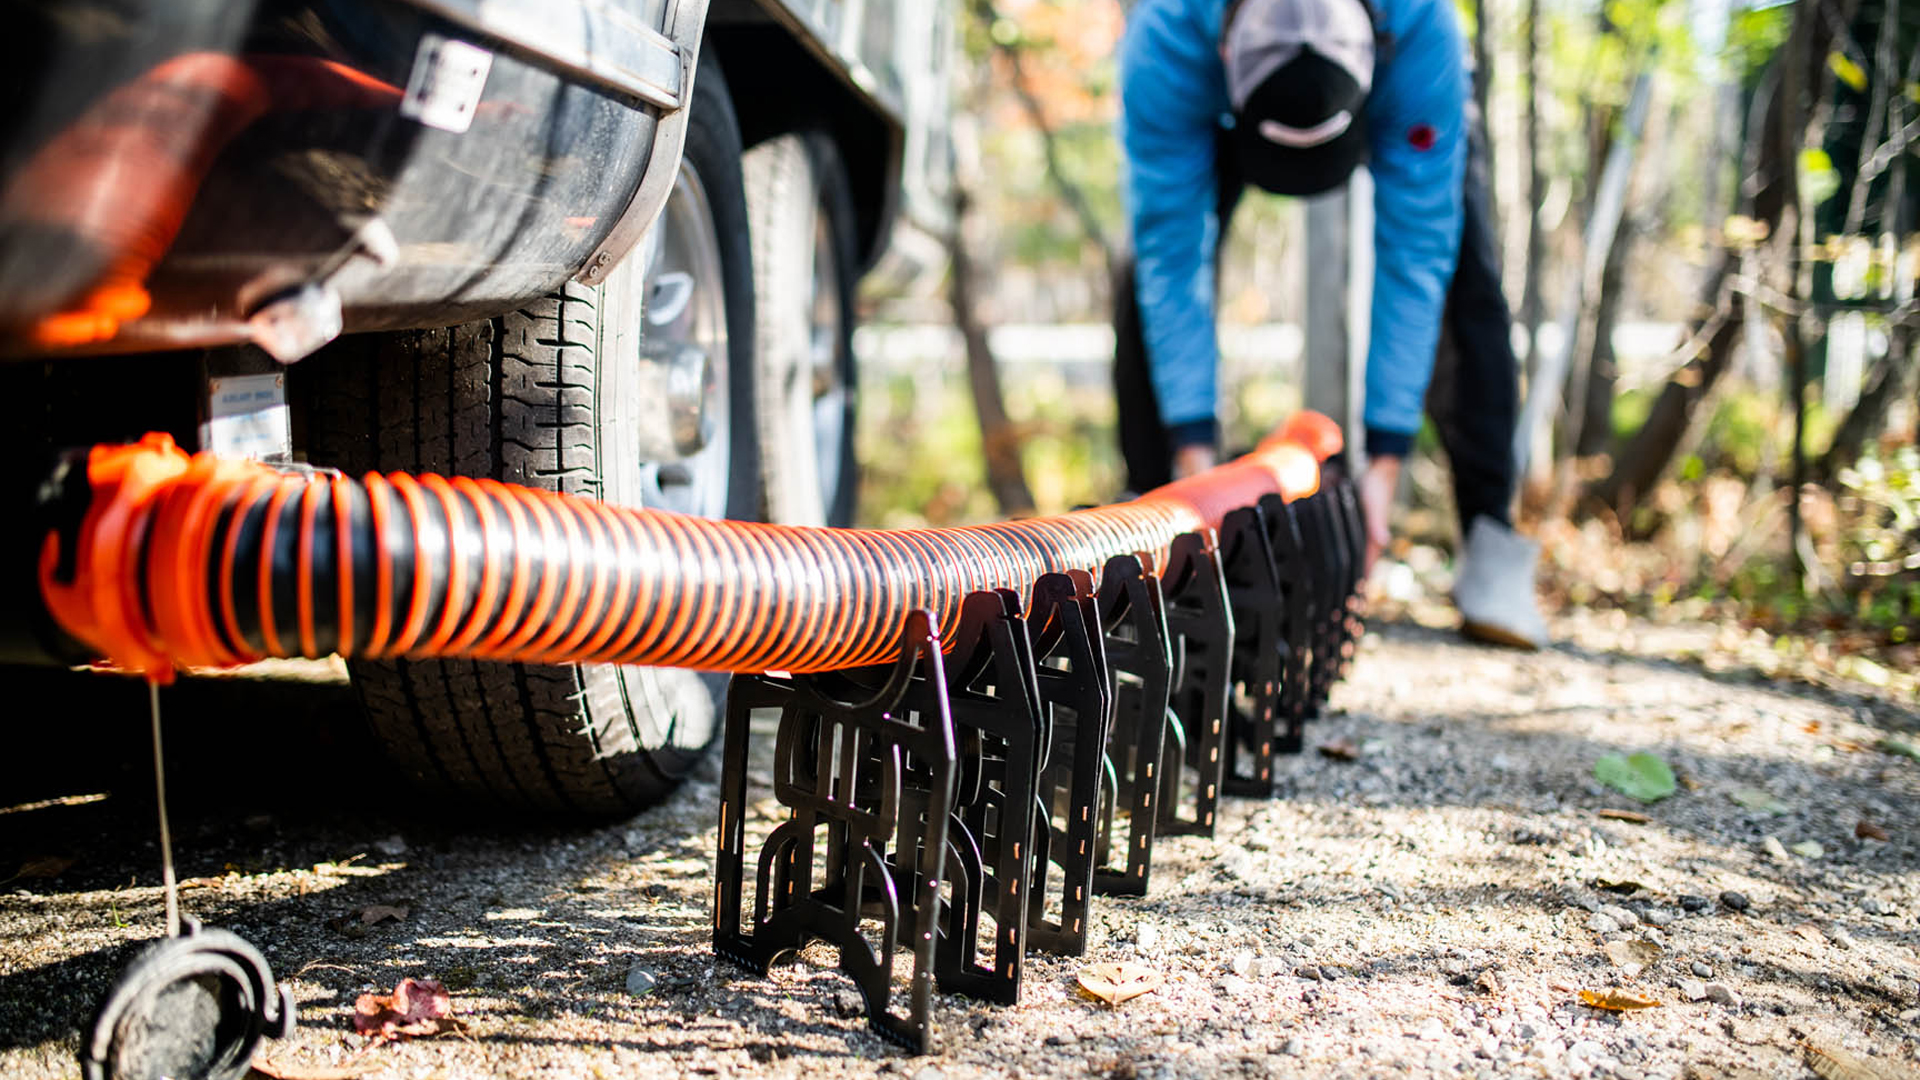
Never leave your black water valve open – clumps of toilet paper and solid waste could potentially clog your hose, and you don’t want to deal with that mess. You can occasionally drain your black water tank during your stay if you need to. We always recommend draining your black tank first, and then draining your grey water tank so it flushes the hose and system. Always close your drain valves when you’re finished flushing.
If you’re camping at a partial hookup site with only electricity, you can use your freshwater during your stay, as well as your toilet and bathroom faucet. You can even take a shower – but be aware that a shower will burn through your freshwater tank quickly. Some campsites offer conveniently located freshwater stations that allow you to refill during your stay. Just make sure you have enough length on your freshwater hose so you don’t have to move your rig midway through your stay.
Utilizing a Campground’s Waste Station
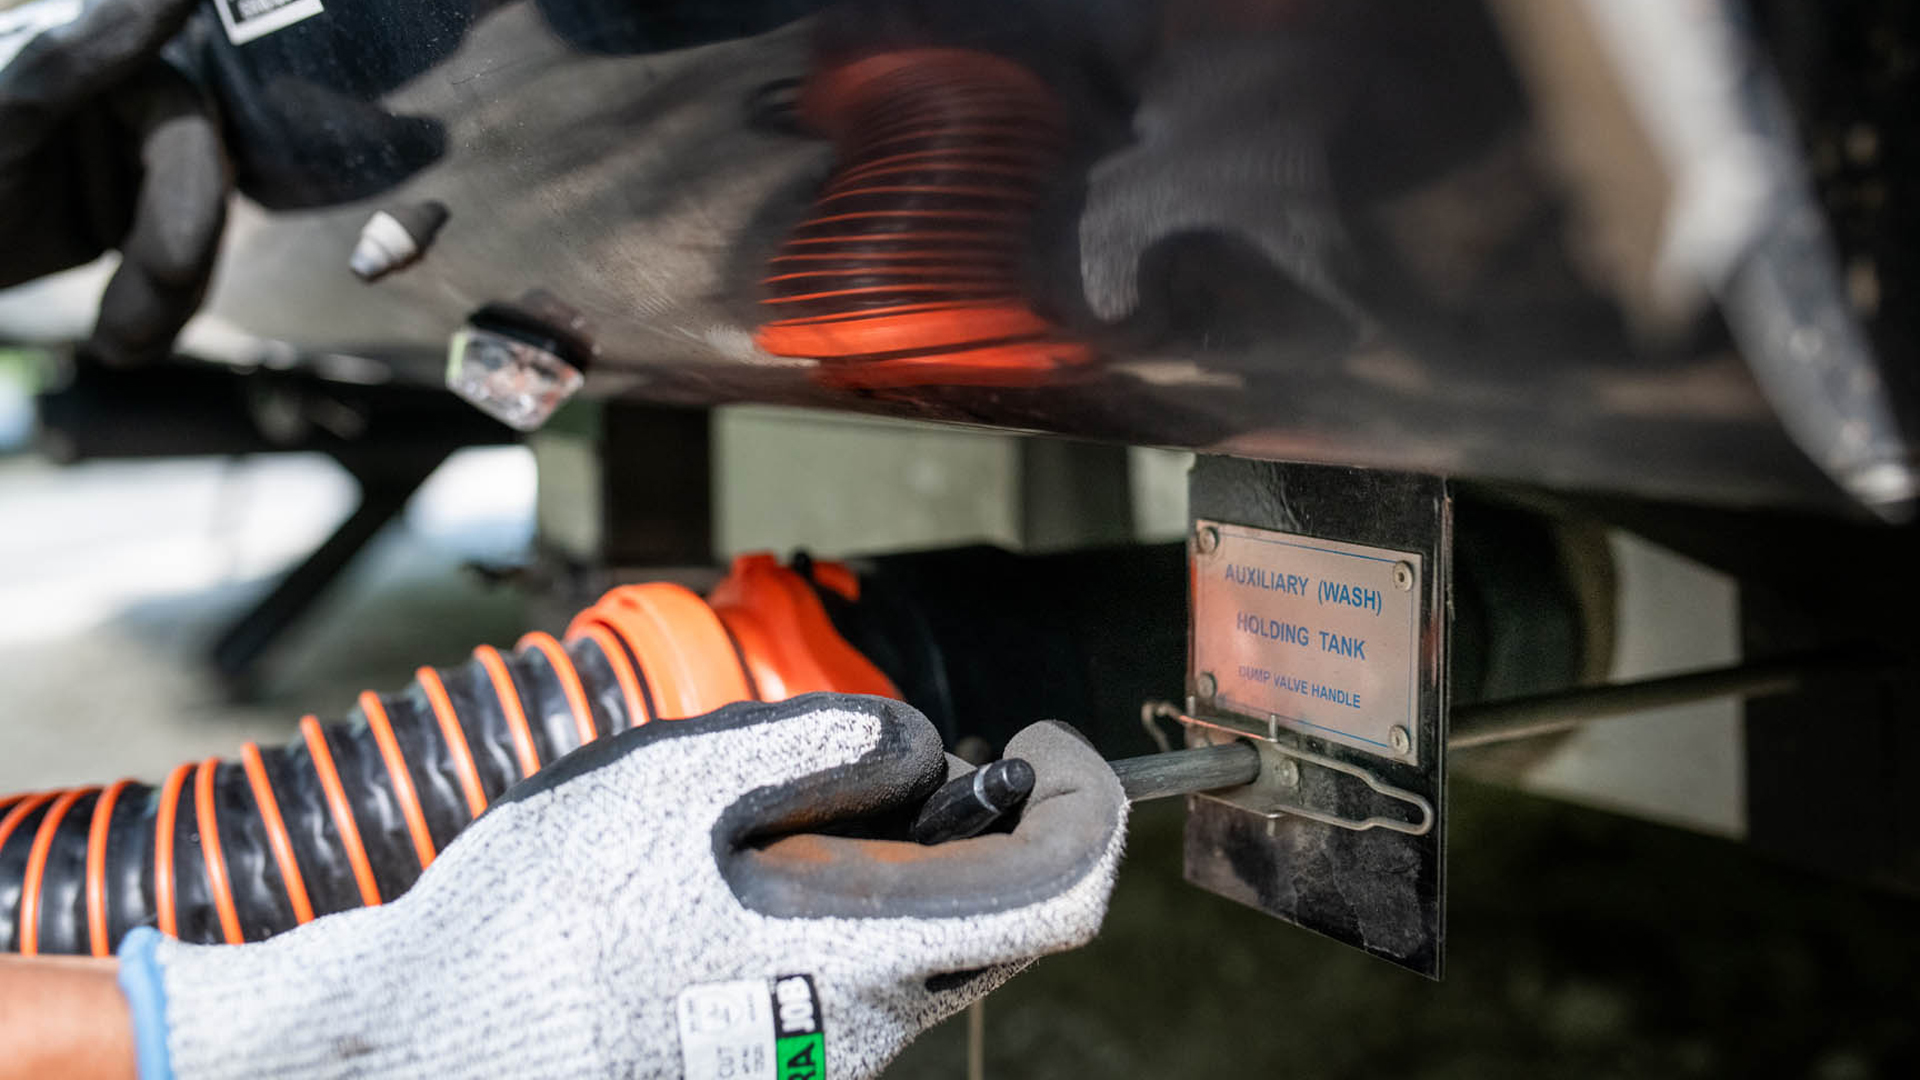
Sometimes called a dump station, most campgrounds feature at least one place where you can empty your black tank before heading home. Most dump stations feature a threaded hose you can attach to your Airstream’s black tank cleanout inlet. Once you’ve emptied your black tank and flushed everything out with the grey water, running fresh water into the black tank cleanout while the drains are open is the final step to an empty black tank.
If you’re camping in the campground, the waste station is usually free to campers, but even if you’re not staying in the campground you can often utilize the dump station for a small fee. Many truck stops and camping supply stores also offer dump stations for a small fee. Be sure to call ahead to ensure availability.
Whether you’re emptying your black tank into your campsite’s septic hookup or using the campground’s dump station before hitting the road, the process is very similar for ensuring your black tank is ready for the next adventure.
Parking
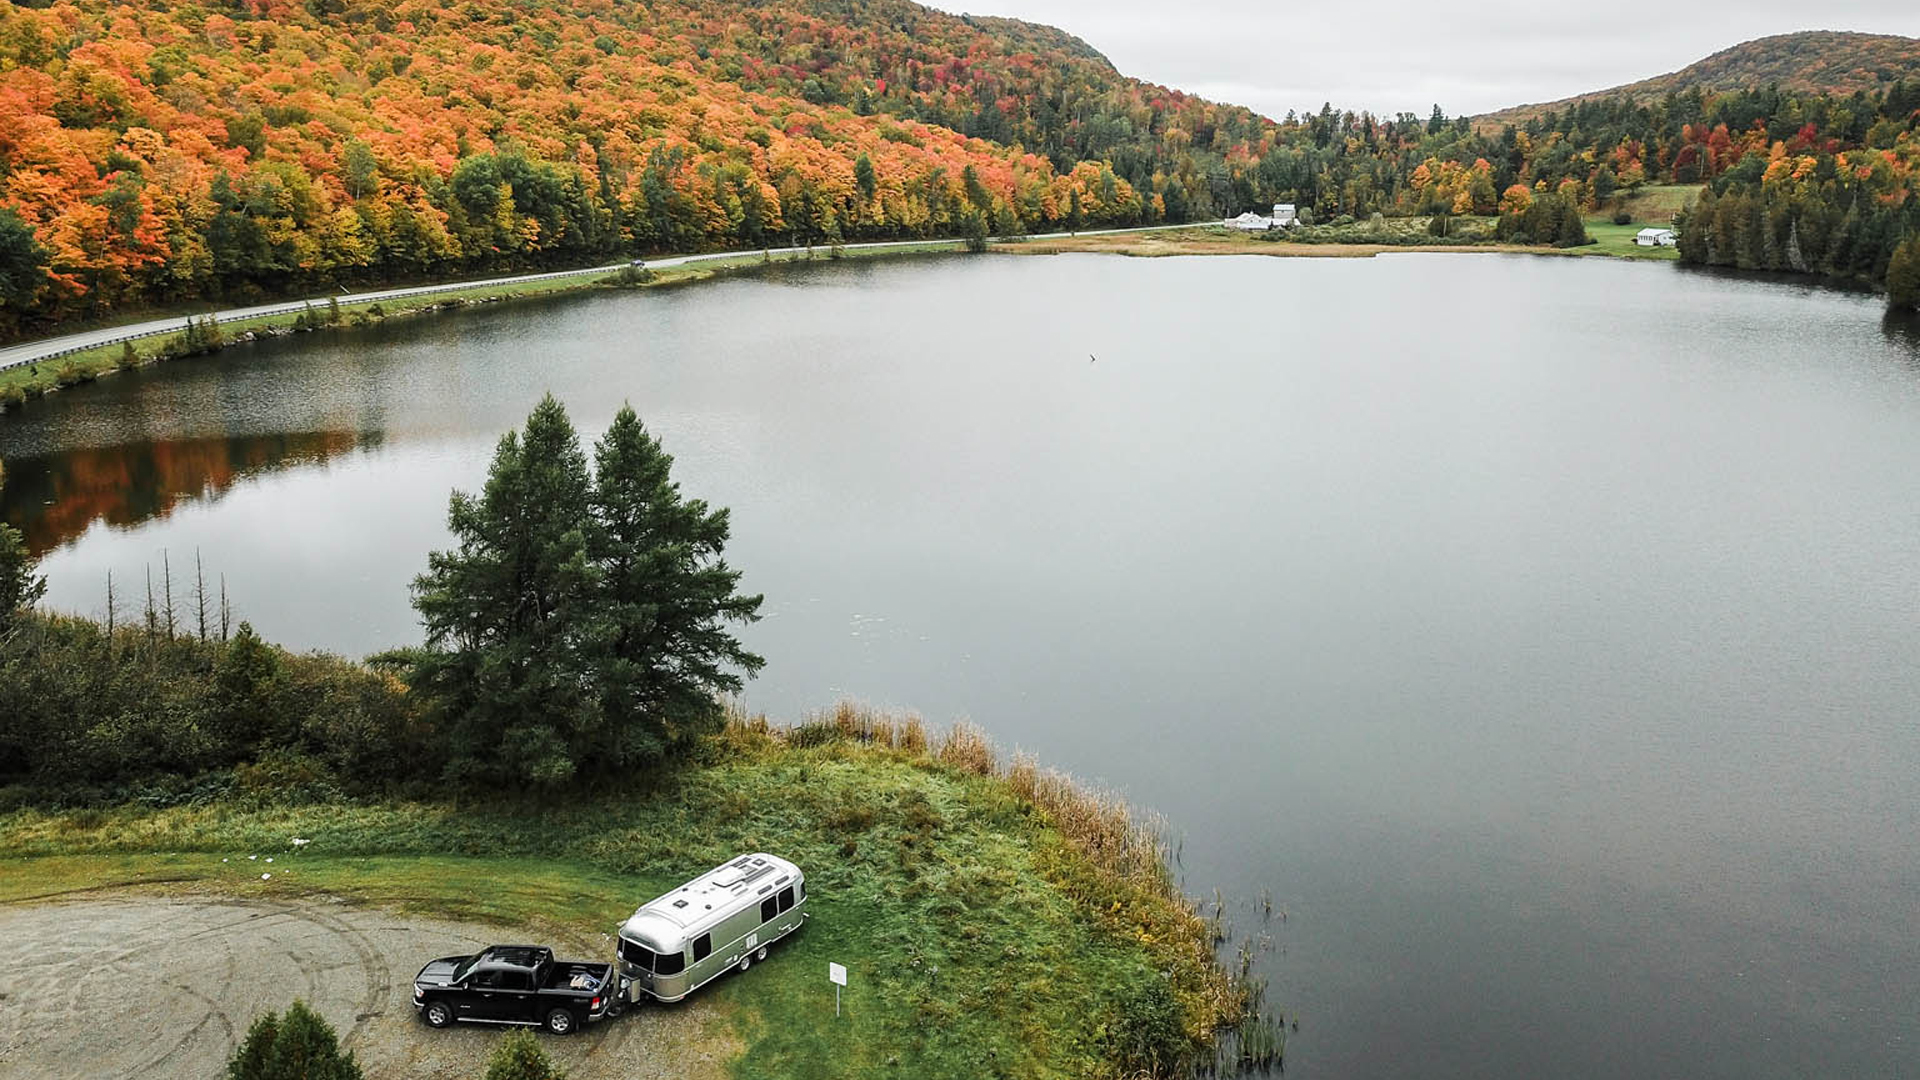
The most common campsites require you to back your Airstream into your site. Some campgrounds also offer what are called pull-through sites. Pull-throughs are the easiest sites to navigate for new Airstreamers or for owners that want to avoid backing in. These sites are popular, and usually sell out quickly.
If you are nervous about backing your Airstream into a site, choose an open campsite with few obstacles. Trees and rocks close to your site might make backing in feel a bit tight. The more you practice backing your Airstream, the easier it will get. So stick with it.
Tips for Finding the Perfect Site
Many campgrounds offer photos of individual sites while you’re booking. YouTube is a great resource as well, as you can often find other campers who’ve driven through campgrounds while filming – sometimes with 360-degree cameras that allow you to scroll around and get a good idea of what the campground looks like. Likewise, online Airstream forums are excellent resources for finding great sites. It’s easy to get a good idea of what to expect before you book your reservation – and a great way to make sure there is plenty of room to set up your awning.
One of the best ways to find great sites – especially at your local campgrounds or at campgrounds you plan on returning to – is to scope out the best sites before you head home. Prior to hitching up, grab a campground map or a notebook and take a leisurely stroll around the campground. Note sites that look appealing. Talk to other campers and ask them which sites they prefer. Make note of hiking trail access if you don’t want hikers traipsing through your campsite on their way to the trail. If you’re traveling with kids, look for playgrounds.
Even better: Some campgrounds offer branches that spread off the main camping circle. Sometimes the campsites on these side branches offer seclusion and cul-de-sacs that are perfect places for kids to ride bikes and scooters and have a great time playing together. (You can often spot these off-the-main-drag sites ahead of time on campground maps.
Campground Etiquette
Always review any campground rules before settling in and getting too comfortable. Sometimes sites can be located close together, and you don’t want to impose on your neighbors.
In general:
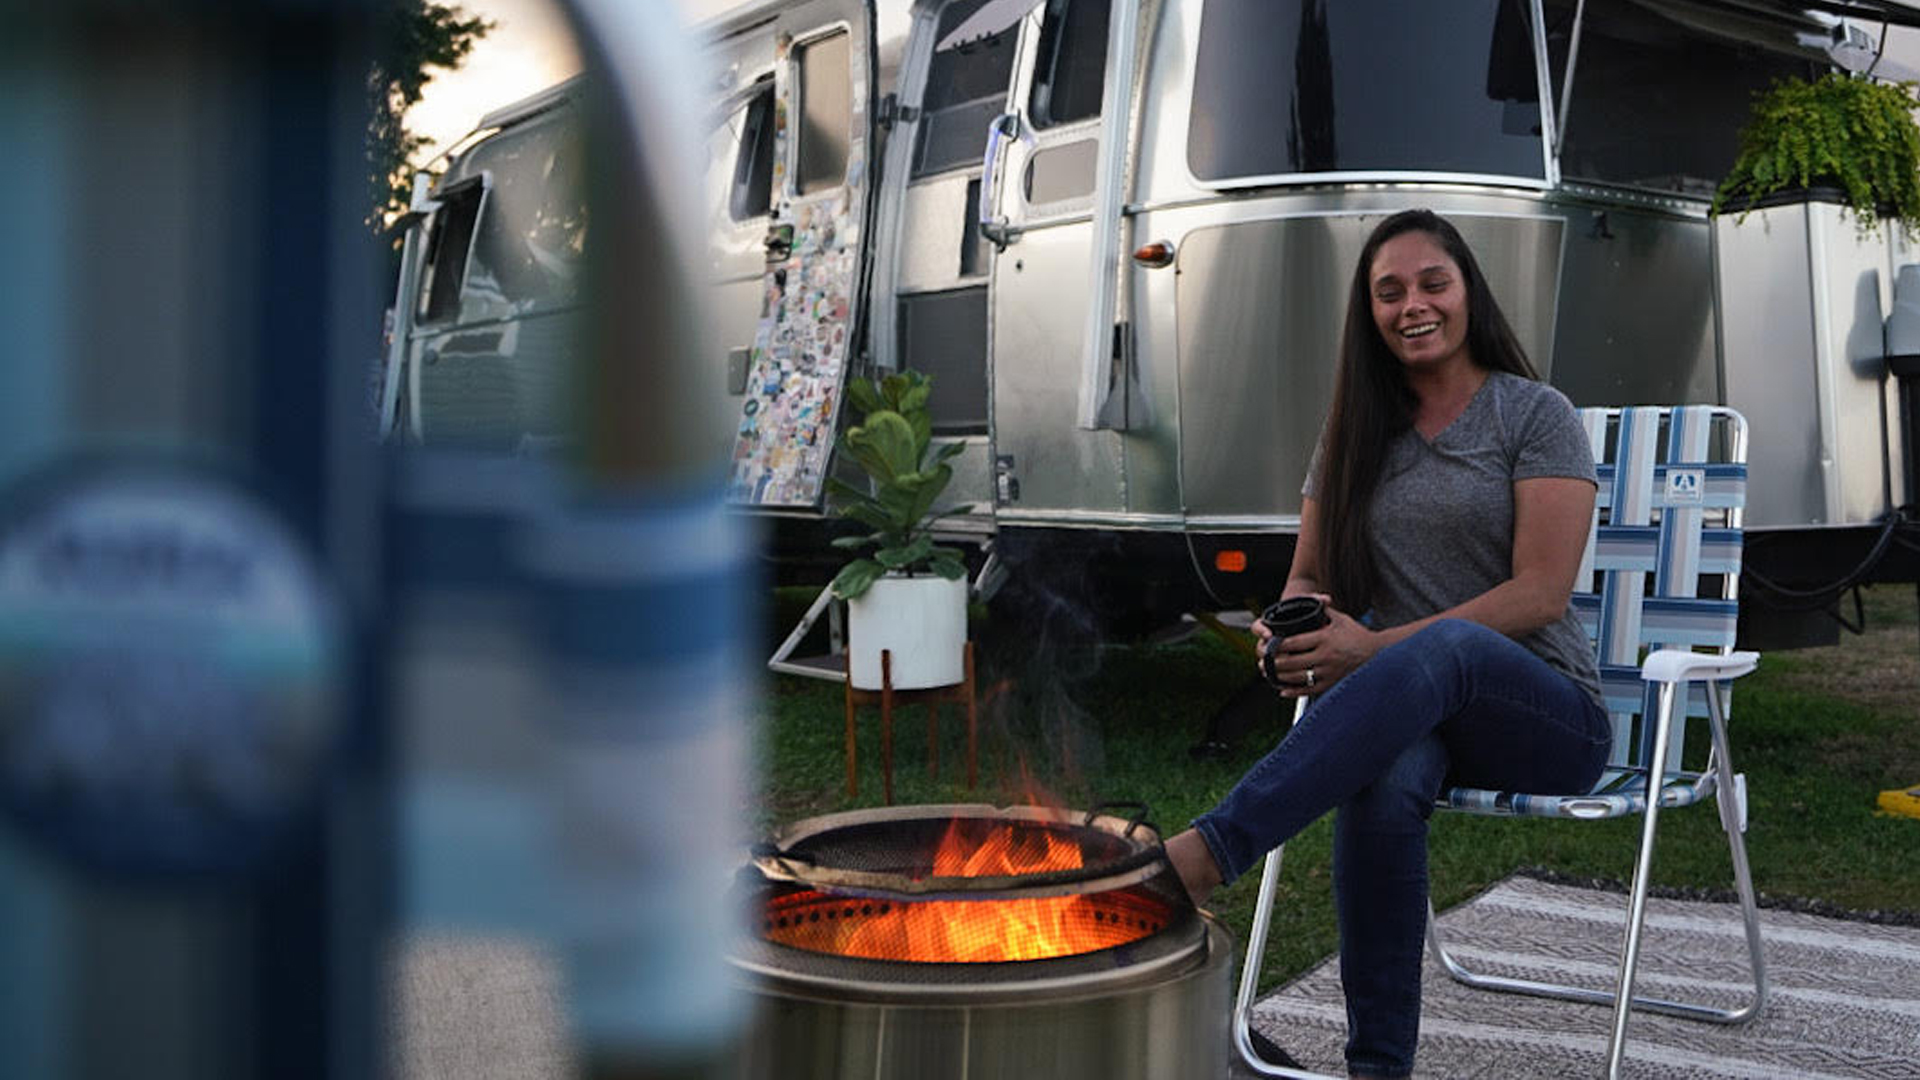
- Be aware of noise curfews. Most parks have time restrictions concerning generators. This makes for a more peaceful experience for all campers. Drinks around the fire are a great way to end a fun-filled day. Just be respectful when it comes to jubilant discussions and loud music that lasts into the night.
- Spray down the dump station after you use it. No one wants to deal with other people’s waste. Be courteous and leave the area cleaner than you found it.
- Clean up your site before leaving. Don’t leave trash in the fire pit, even if it is burnable. Do a sweep of your campsite to make sure things are tidy, and you aren’t leaving anything behind.
Gear and Accessories: The Essentials and More
Beyond the essentials required for hooking up at the campsite, you’ll need some essentials to get you started. We’ve included helpful links to our online story, Airstream Supply Company, where you can purchase this gear, along with other essential Airstream items:
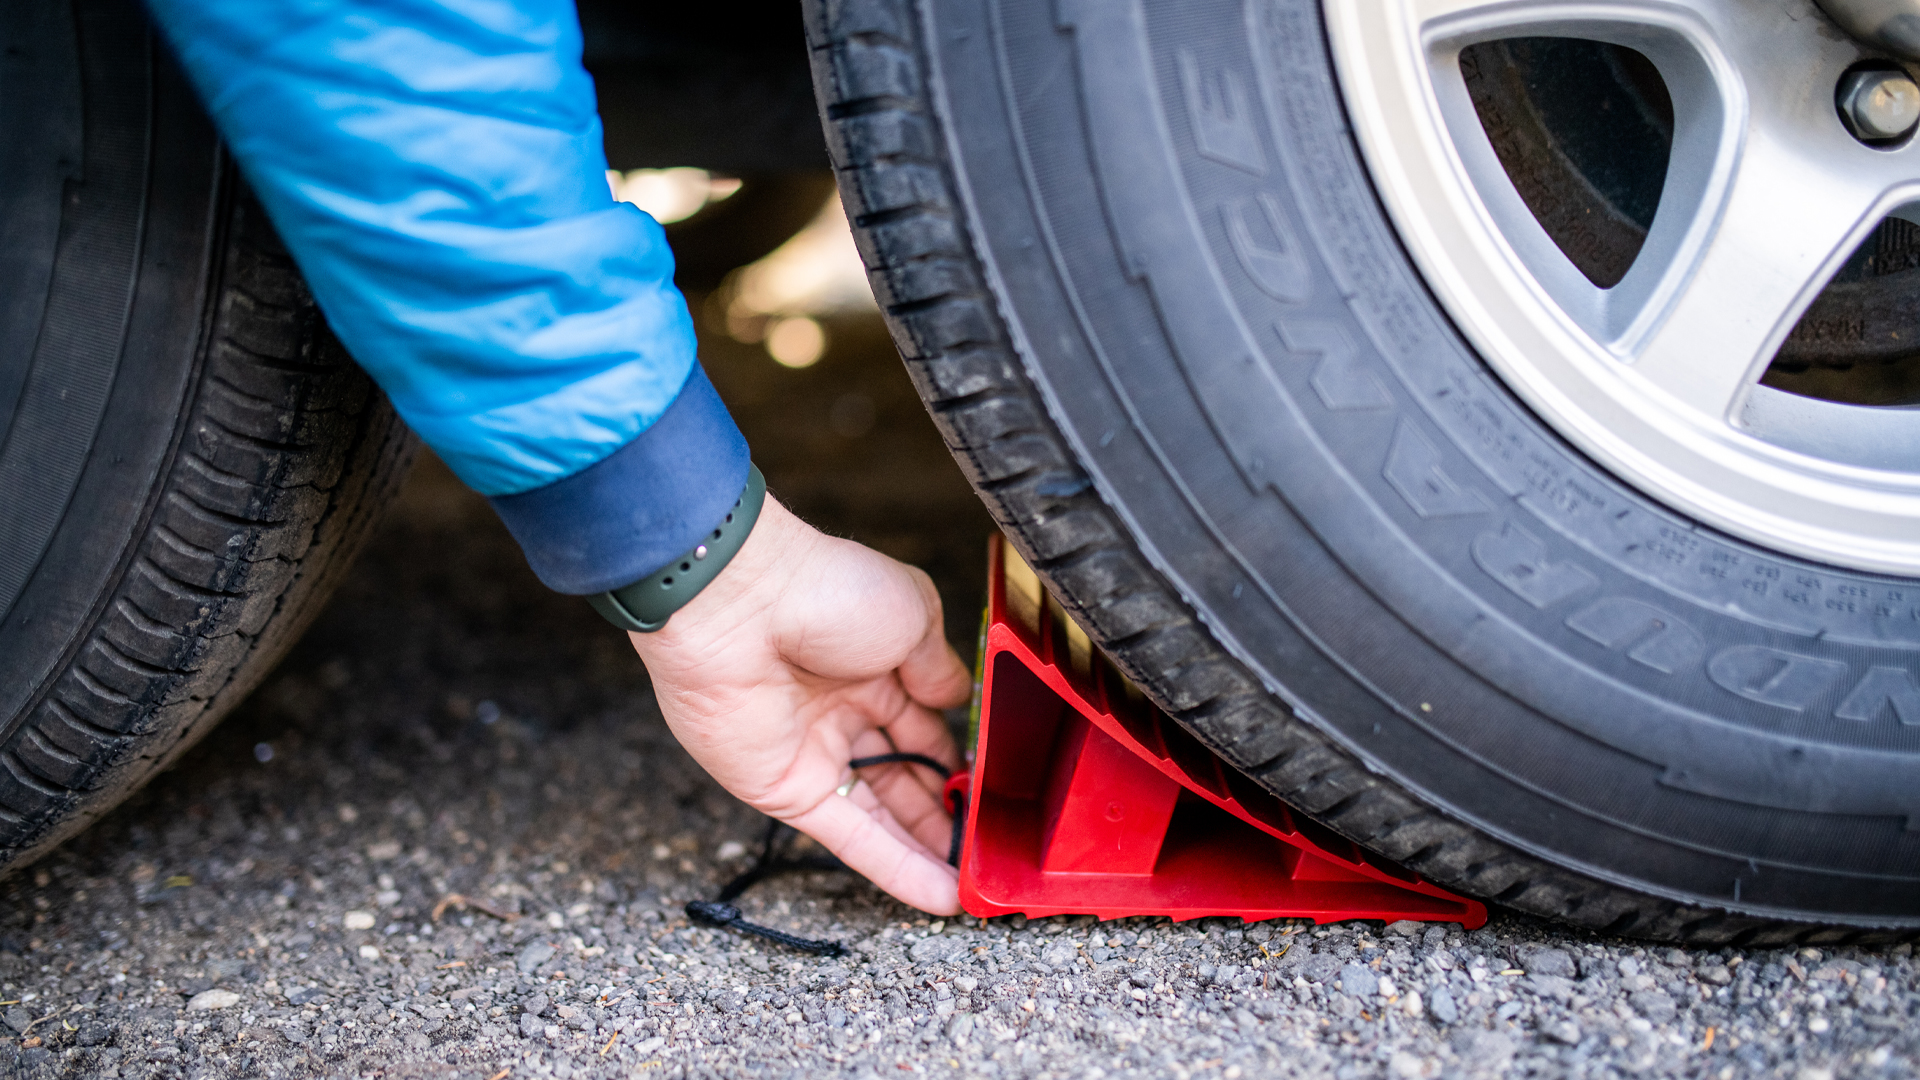
- Wheel Chocks: Prevent your travel trailer from moving after you unhitch, essential for safety, especially when camping on a site that is less than level
- Jack Pads/Leveling Pads: Invest in several sets of leveling pads. These come in all types, but we love the interlocking Lynx Levelers, available on our online store Airstream Supply Company). These versatile interlocking blocks can be used in a variety of functions – under your hitch and stabilizing jacks for a flat, solid surface, or under your wheels to help level up your trailer before you unhitch.
- A Torque Wrench: Tire maintenance is one of the most important parts of Airstream ownership. Before every trip (and after every time you change a tire) you should use a torque wrench to appropriately tighten your Airstream’s lugnuts. More information about torque wrenches and Airstream’s recommendations for this essential safety procedure can be found at our Support Site.
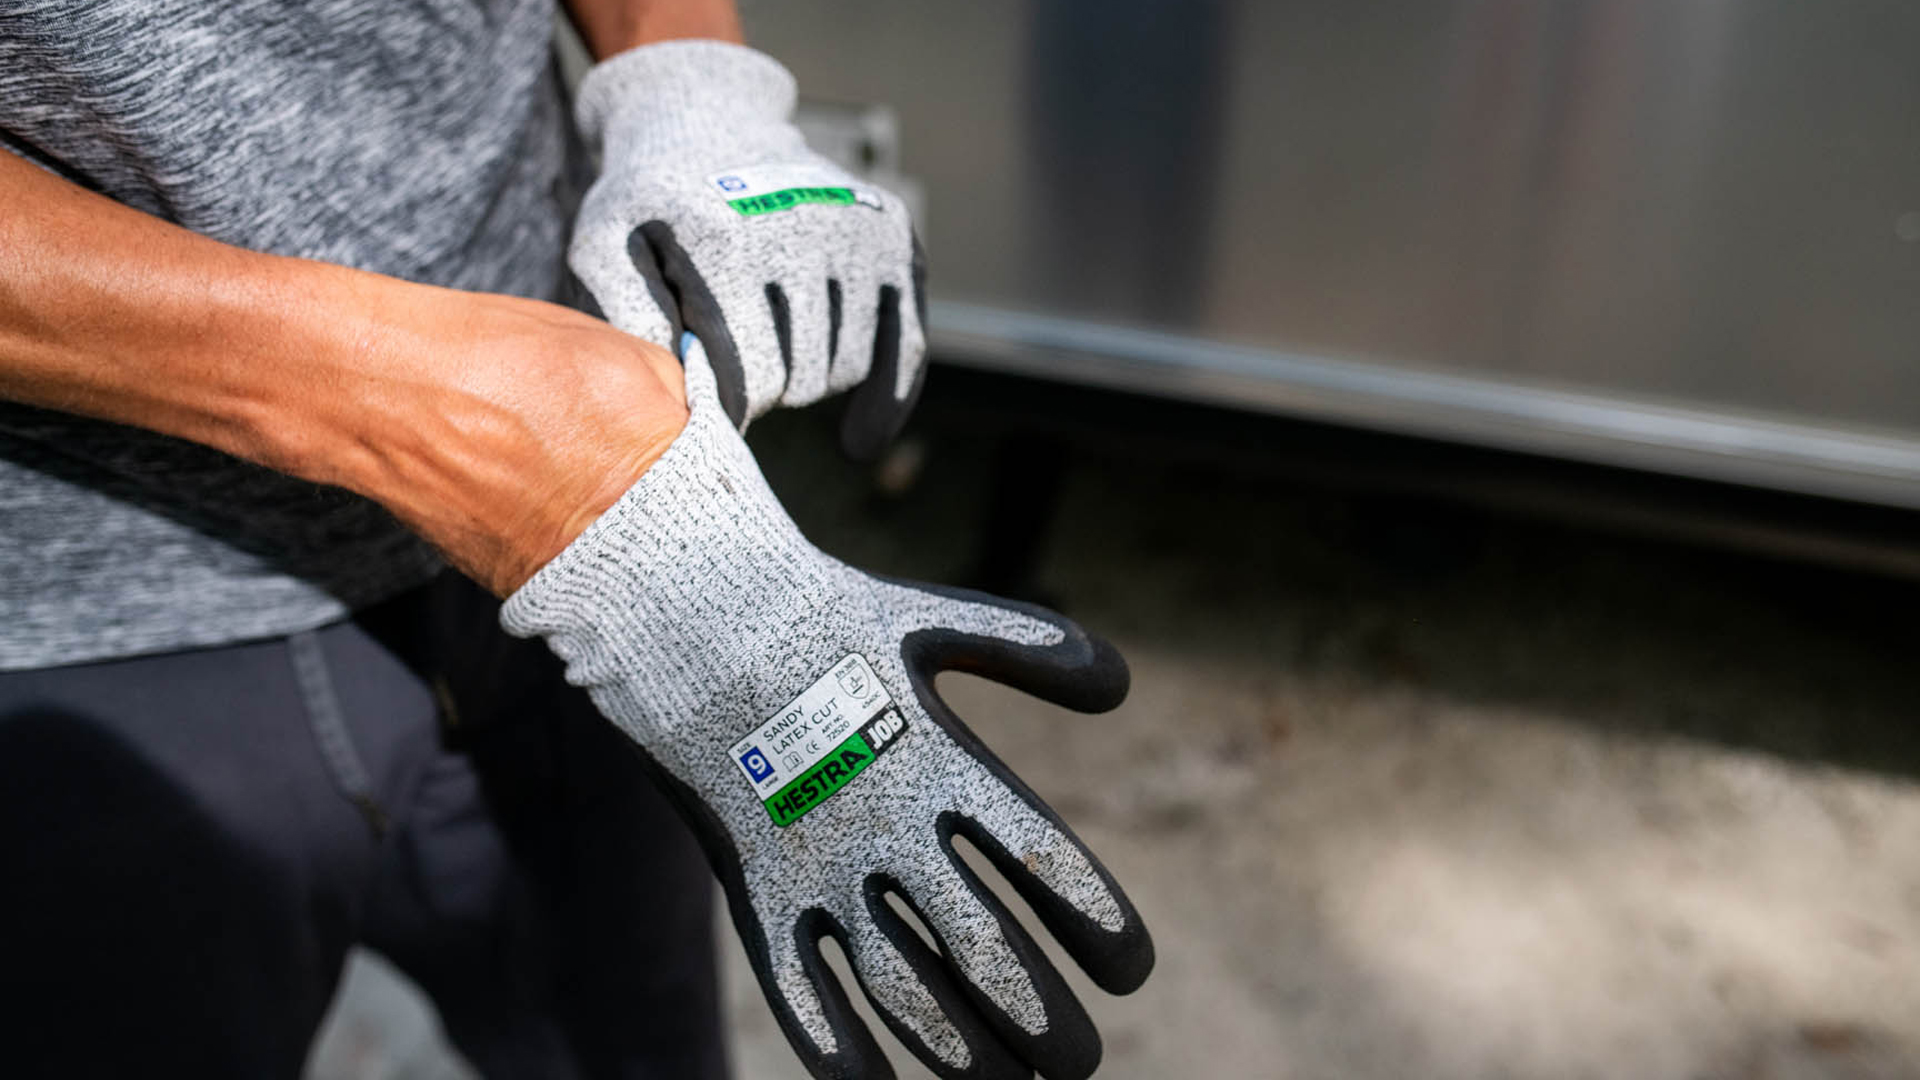
- A Good Pair of Gloves: We love HESTRA work gloves, and we like to keep a couple pairs of plastic gloves on hand for the dirty work.
You’ll also want to bring along camp furniture, outdoor cooking tools, and other gear to set up a great outdoor environment while you’re camping. There’s a wide spectrum of what constitutes a required piece of gear for a campsite, but in general here’s what you might want to consider:
- Camp chairs
- A folding table or two
- Tools for cooking over the fire (pie irons, cast iron skillets, grill grates, burger grillers, and more add a fun spin to dinner prep)
- Roasting sticks (for s’mores and hotdogs)
- Outdoor lighting (like a headlamp, string lights, or a couple lanterns)
The Most Important Part of a Camping Trip?
No matter how you book your campsite and pack for your trip, remember that the most important ingredient to a successful trip is an open mind. Camping and traveling open you up to new experiences, new locations, and new people. Your typical campground is a great melting pot – a place where you can spend time with family and friends, learn from other campers, and meet people you might otherwise not encounter.
Like camping, Airstreaming is more than simply a hobby – it’s a way of life, one that you grow into with every trip out.
And remember, the Airstream community is a welcoming and helpful bunch. Don’t be afraid to ask for assistance from a fellow Airstreamer. And if you’re still stumped, contact our professional support team through the all-new Airstream Support site. There you can browse through hundreds of support articles about your particular Airstream floor plan, watch in-depth how-to videos, and create a support ticket to help get the answers you need.
Want to discover more helpful hints for setting up your campsite? Need advice on what to consider when you’re ready to pack up and head home? Check out more tips and advice for setting up and tearing down your campsite at Airstream Support.


